On to the Sewalong! Today we will sew the bustier of Sewing Pattern Marta Dress. Step by step I will guide you through the different steps.
Sewing Pattern Marta Dress – The Bustier
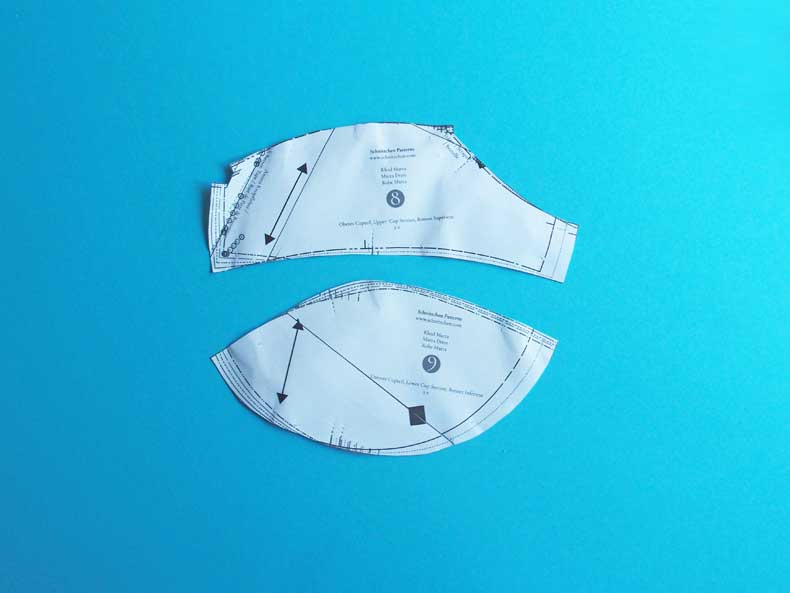
First of all you need the pattern pieces number 8 (upper cup) and number 9 (lower cup).
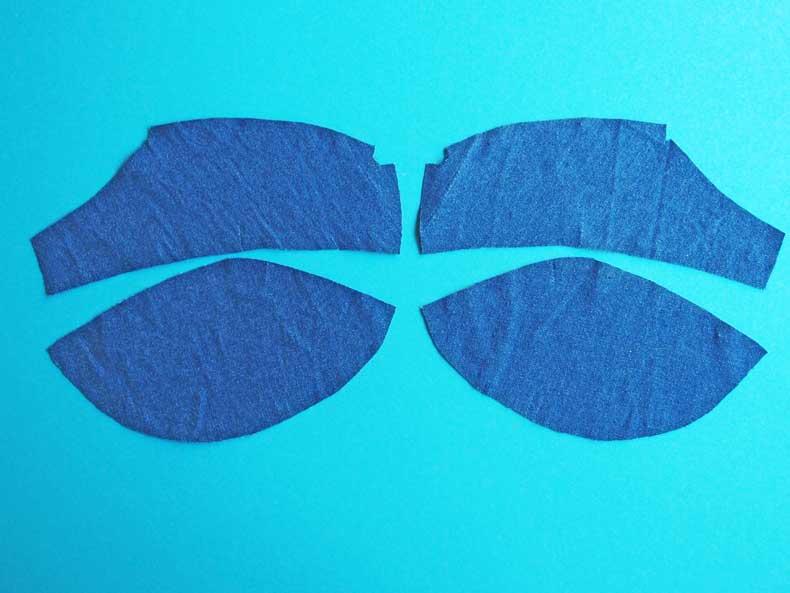
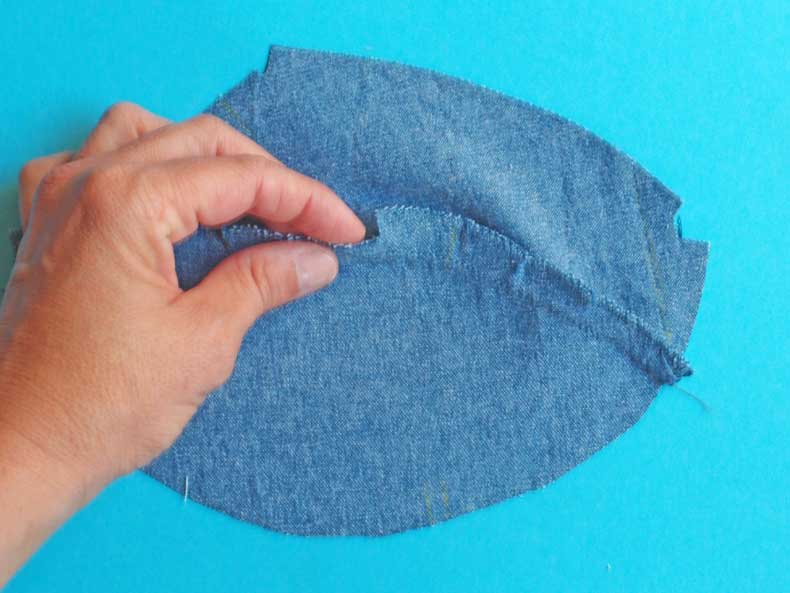
Pin the top sections of each cup to the bottom sections, right sides together and sew the cross seams.
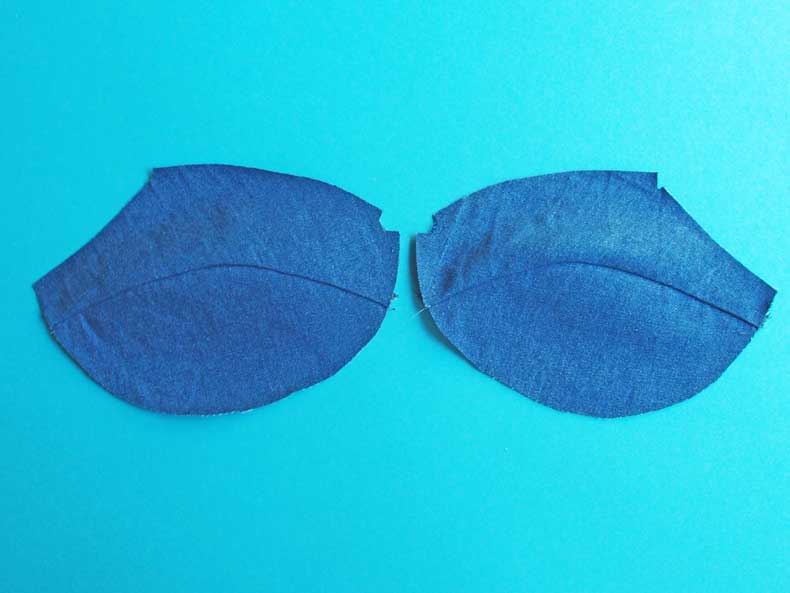
Now neaten the seam allowances together and press them upwards. Clip them with some sharp scissors so that the curves come out well.
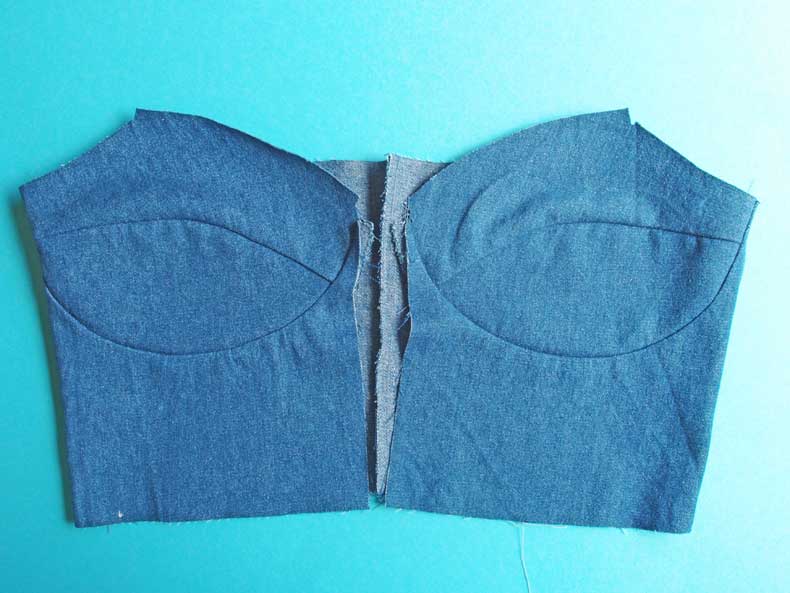
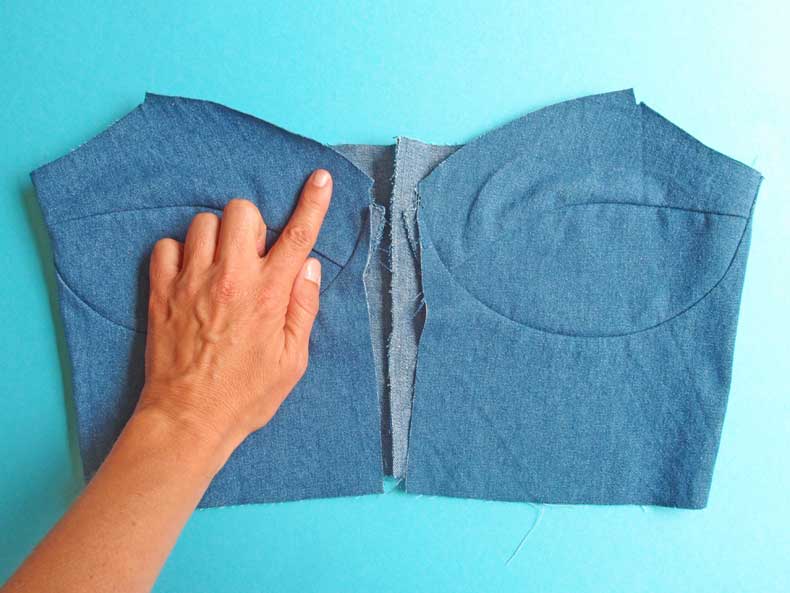
Next you need pattern piece number 10 (front bodice). Pin the cups to the front bodice (corsage) and stitch.

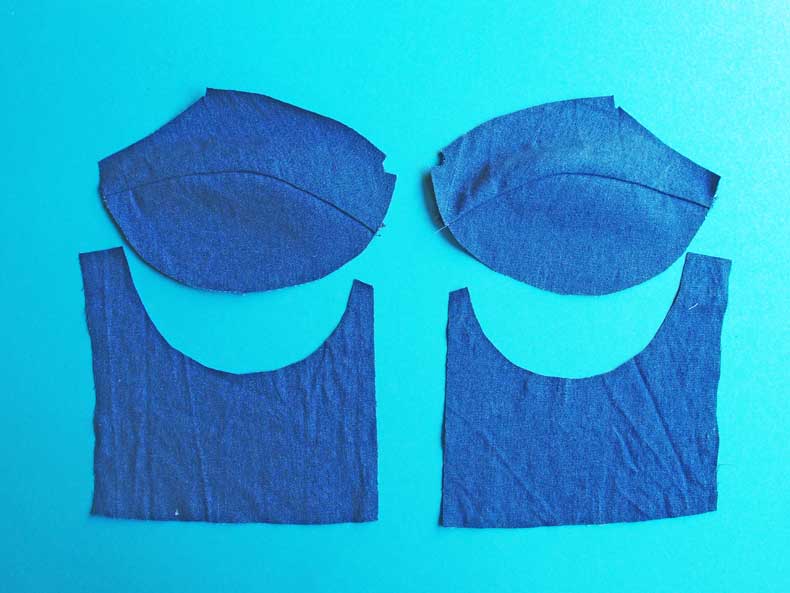
Neaten the seam allowances together, clip them again with some sharp scissors and press them towards the cup.
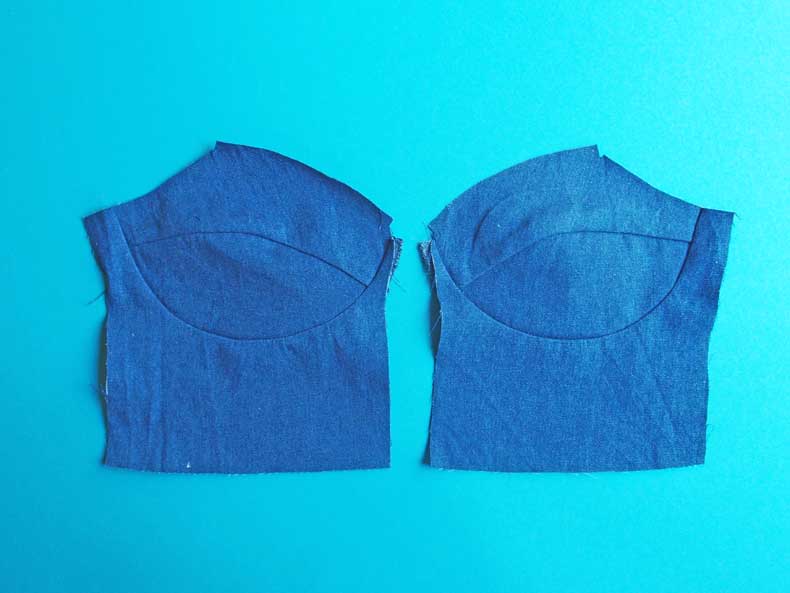
Done? Yeah! Then your front bustier pieces should look like this:
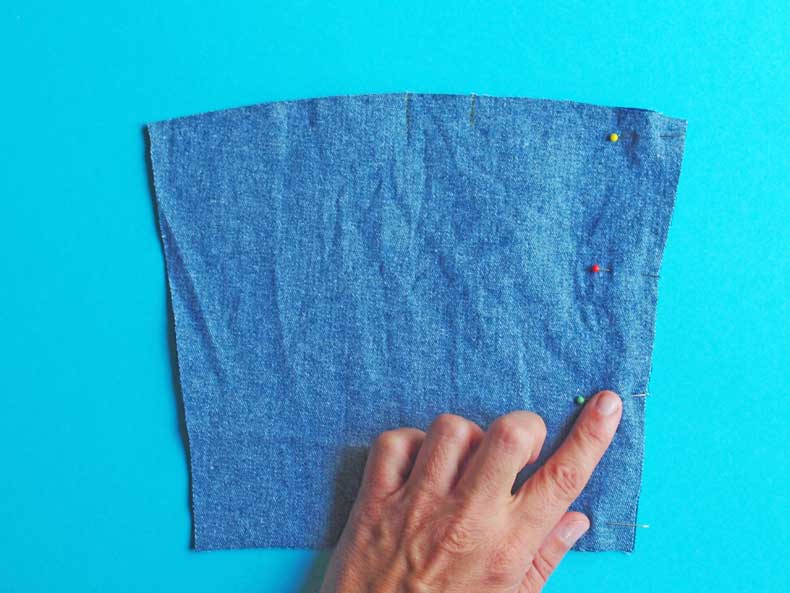
Now you need to sew the back bodice (corsage). Therefore you need the pattern pieces number 11.
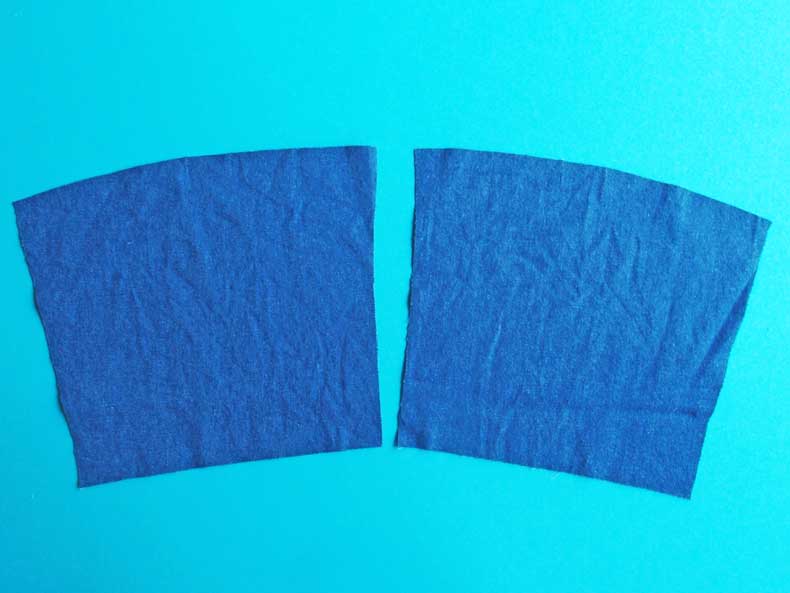
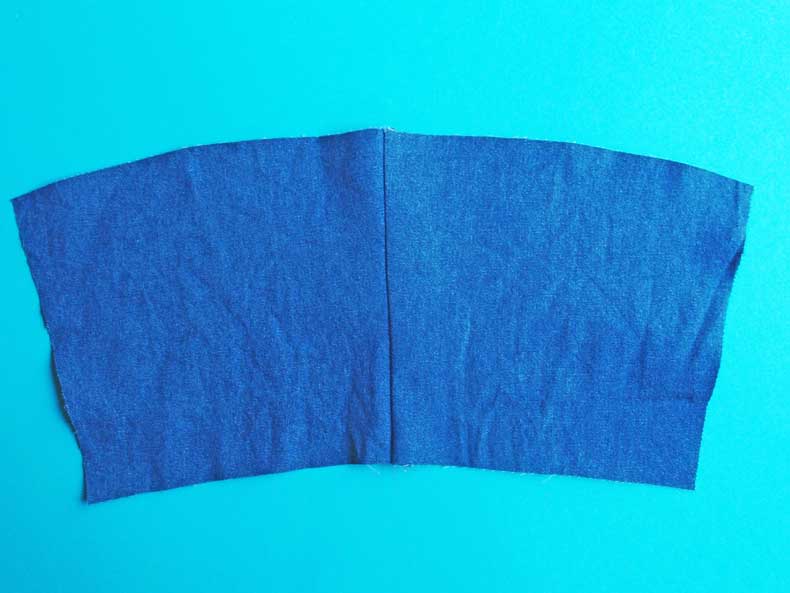
Pin the back corsage sections right sides together and sew the back center.
Neaten the seam allowances together and press to the side.
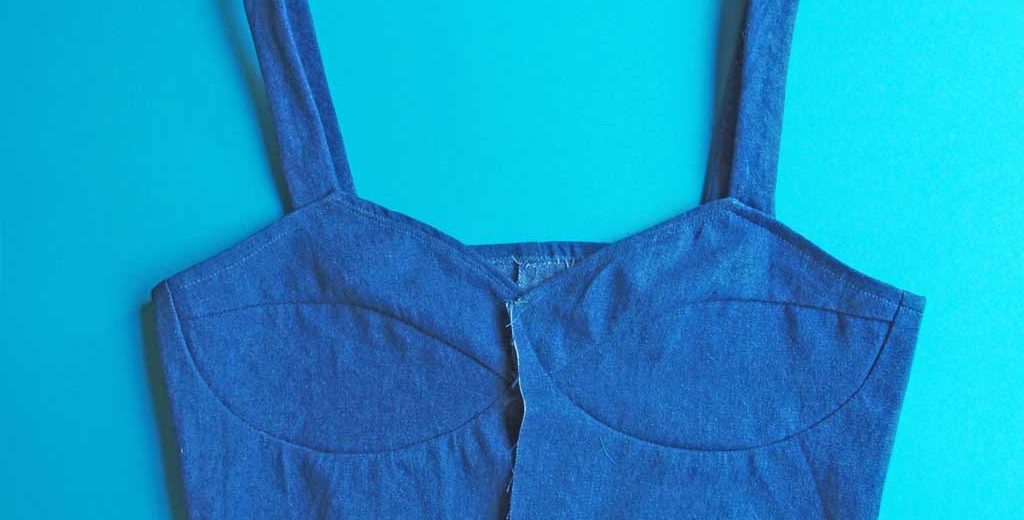
Now sew together the front bodice and the back bodice. Pin the front bodices to back bodice, right sides together. Sew the side seams and neaten the seam allowances together using a zigzag stitch. Press seam allowances towards the back.

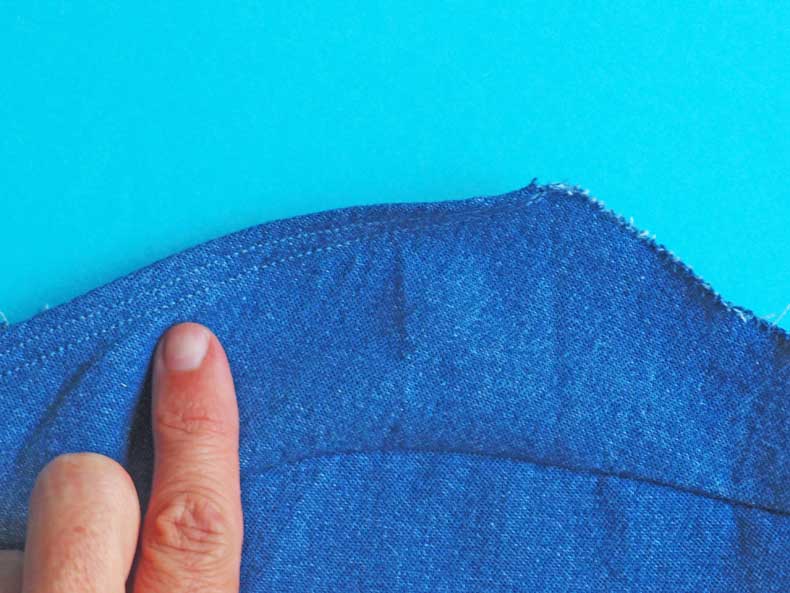
Well done! Now you already can see how the bustier will look like. You only have to sew the upper edge and to attach the straps.
Sewing the upper edges
Neaten the upper edge of the bodice. Turn in the centre edges of the upper cups (number 8) by 0.5 cm (see marking) and press.
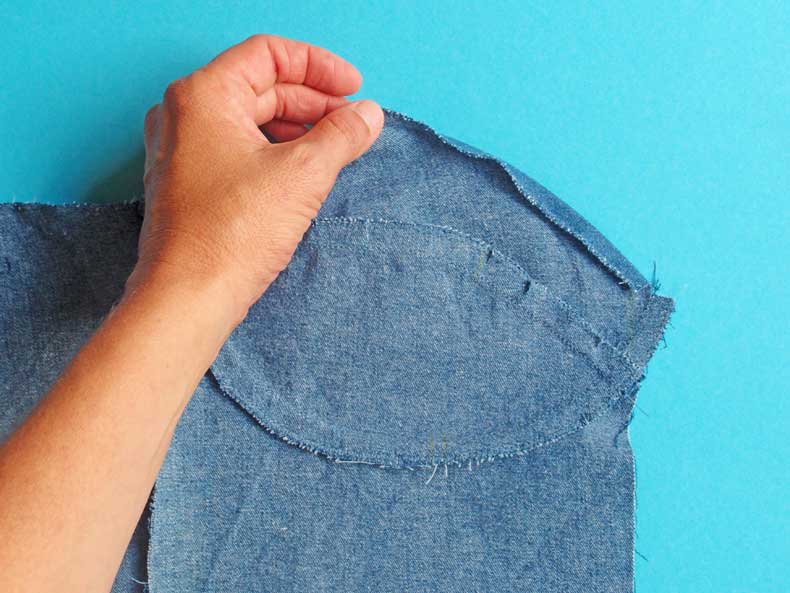
Cover the ironed part of the neckline on the inside with a length of lingerie elastic and pin the elastic. The elastic should be about 1 cm shorter!
Fold in the ironed part and cover the elastic. Stitch while keeping the elastic slightly under tension (about 1 cm).
Here, either set a zigzag stitch for the same width as the elastic band or stitch two parallel rows of stitching as wide as the elastic.
Press this part carefully from the right side. You will see that there is no gathering due to the elastic but the upper edge is more fixed and the curve in a nicer shape.
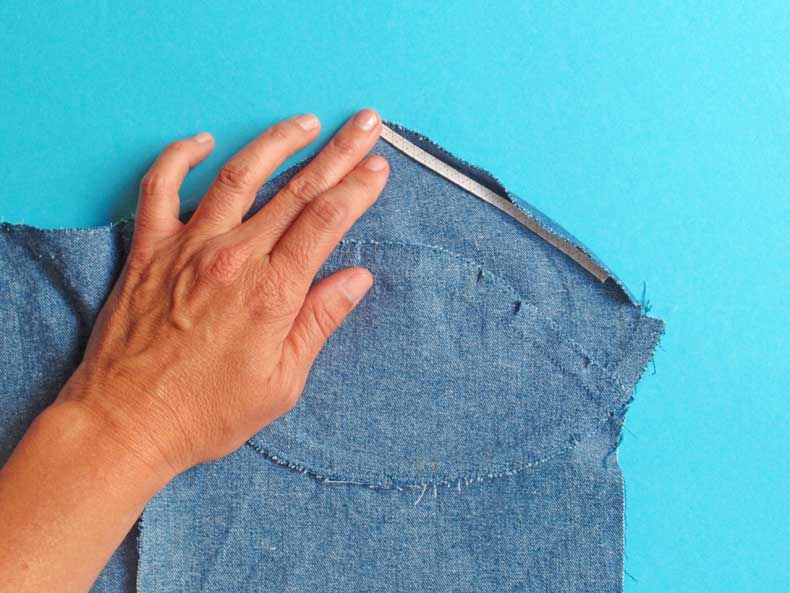
Now also turn and press 0,5 cm along the cup armhole and the top edge of the back bodice.

Before you stitch you must sew the straps as they will be catched while sewing.
Sewing the straps
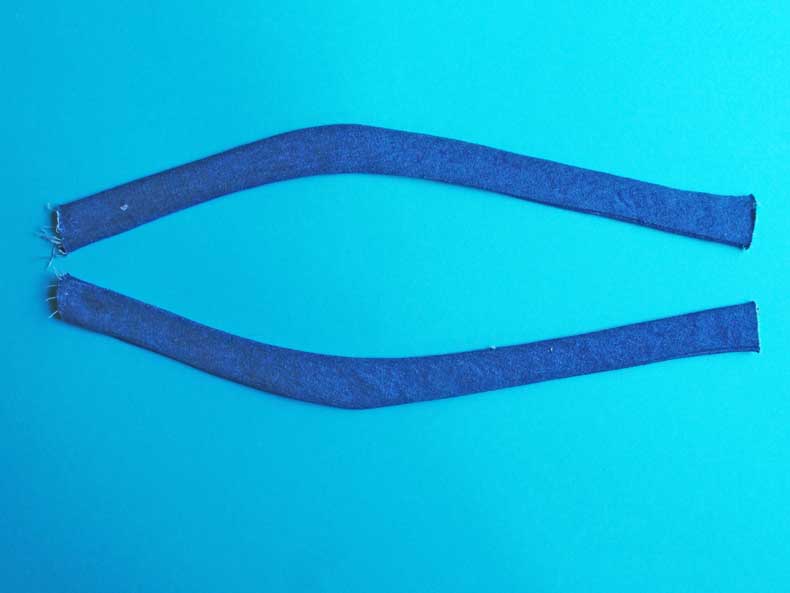
Pin the straps (number 12) each right sides together, stitch the long edges, turn right side out and iron.
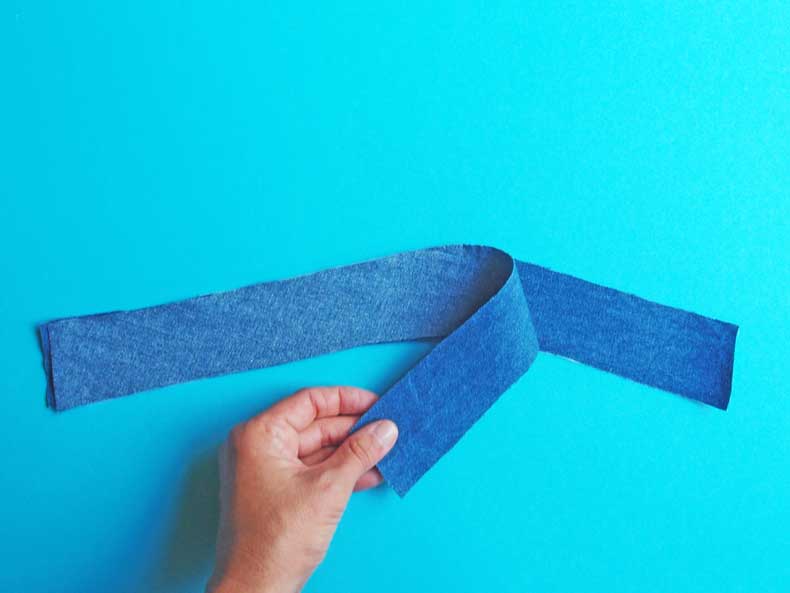
Now trim the seam allowances…

… and turn right side out. Press the straps carefully from the right side.
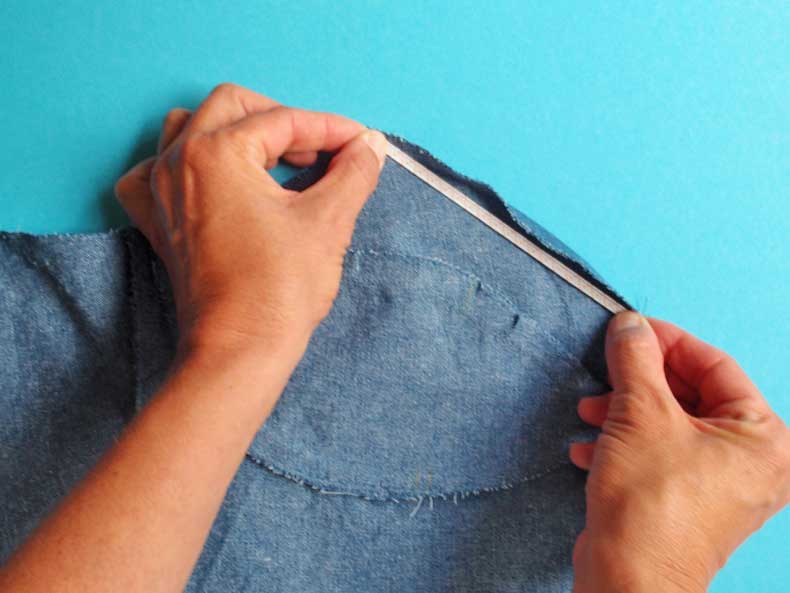
Place the straps on the front bodice section onto the pressed-up seam allowance and pin. Pay attention to the markings!
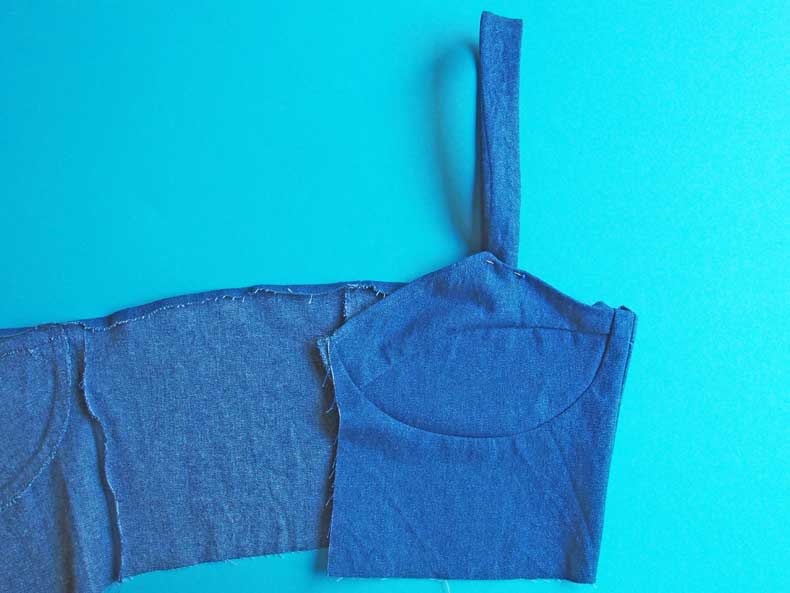
Now place the straps on the back bodice section onto the pressed-up seam allowance and pin. Pay attention to the markings! Before sewing check the length of the straps and adjust if needed.
Stitch the upper edge of the bodice close to edge and catch the straps while sewing.

Wow! Now also the bustier for the Marta Dress is ready!
Our next date is Thursday (August 10th) where we will sew together the bustier and the skirt and finish the dress!
Looking forward and… Sewlong!

