HOW TO PRINT AND STICK TOGETHER SCHNITTCHEN PATTERNS SEWING PATTERN
YOU NEED:
- Acrobat Reader
- Printer
- DIN A4 Paper
- Scissors
- Glue Stick
PRINTING:
- Open the PDF file using Adobe Acrobat Reader (Download for free). On the left side (layer option) you can hide any size you want by deselecting the eye of the layers (sizes) you do not wish to view.
- When printing the pattern make sure that the printer is set correctly (100%, do not scale!). Also check that the printing settings for upright and horizontal formats are set to automatically.
- When printing, wait for the printer to stop before taking out the pattern. Also make sure the printer is fed correctly. To make sure your pattern is printing at the correct size measure the 1 x 1cm or 1/2 in x 1/2in square you find on every page.
STICKING TOGETHER:
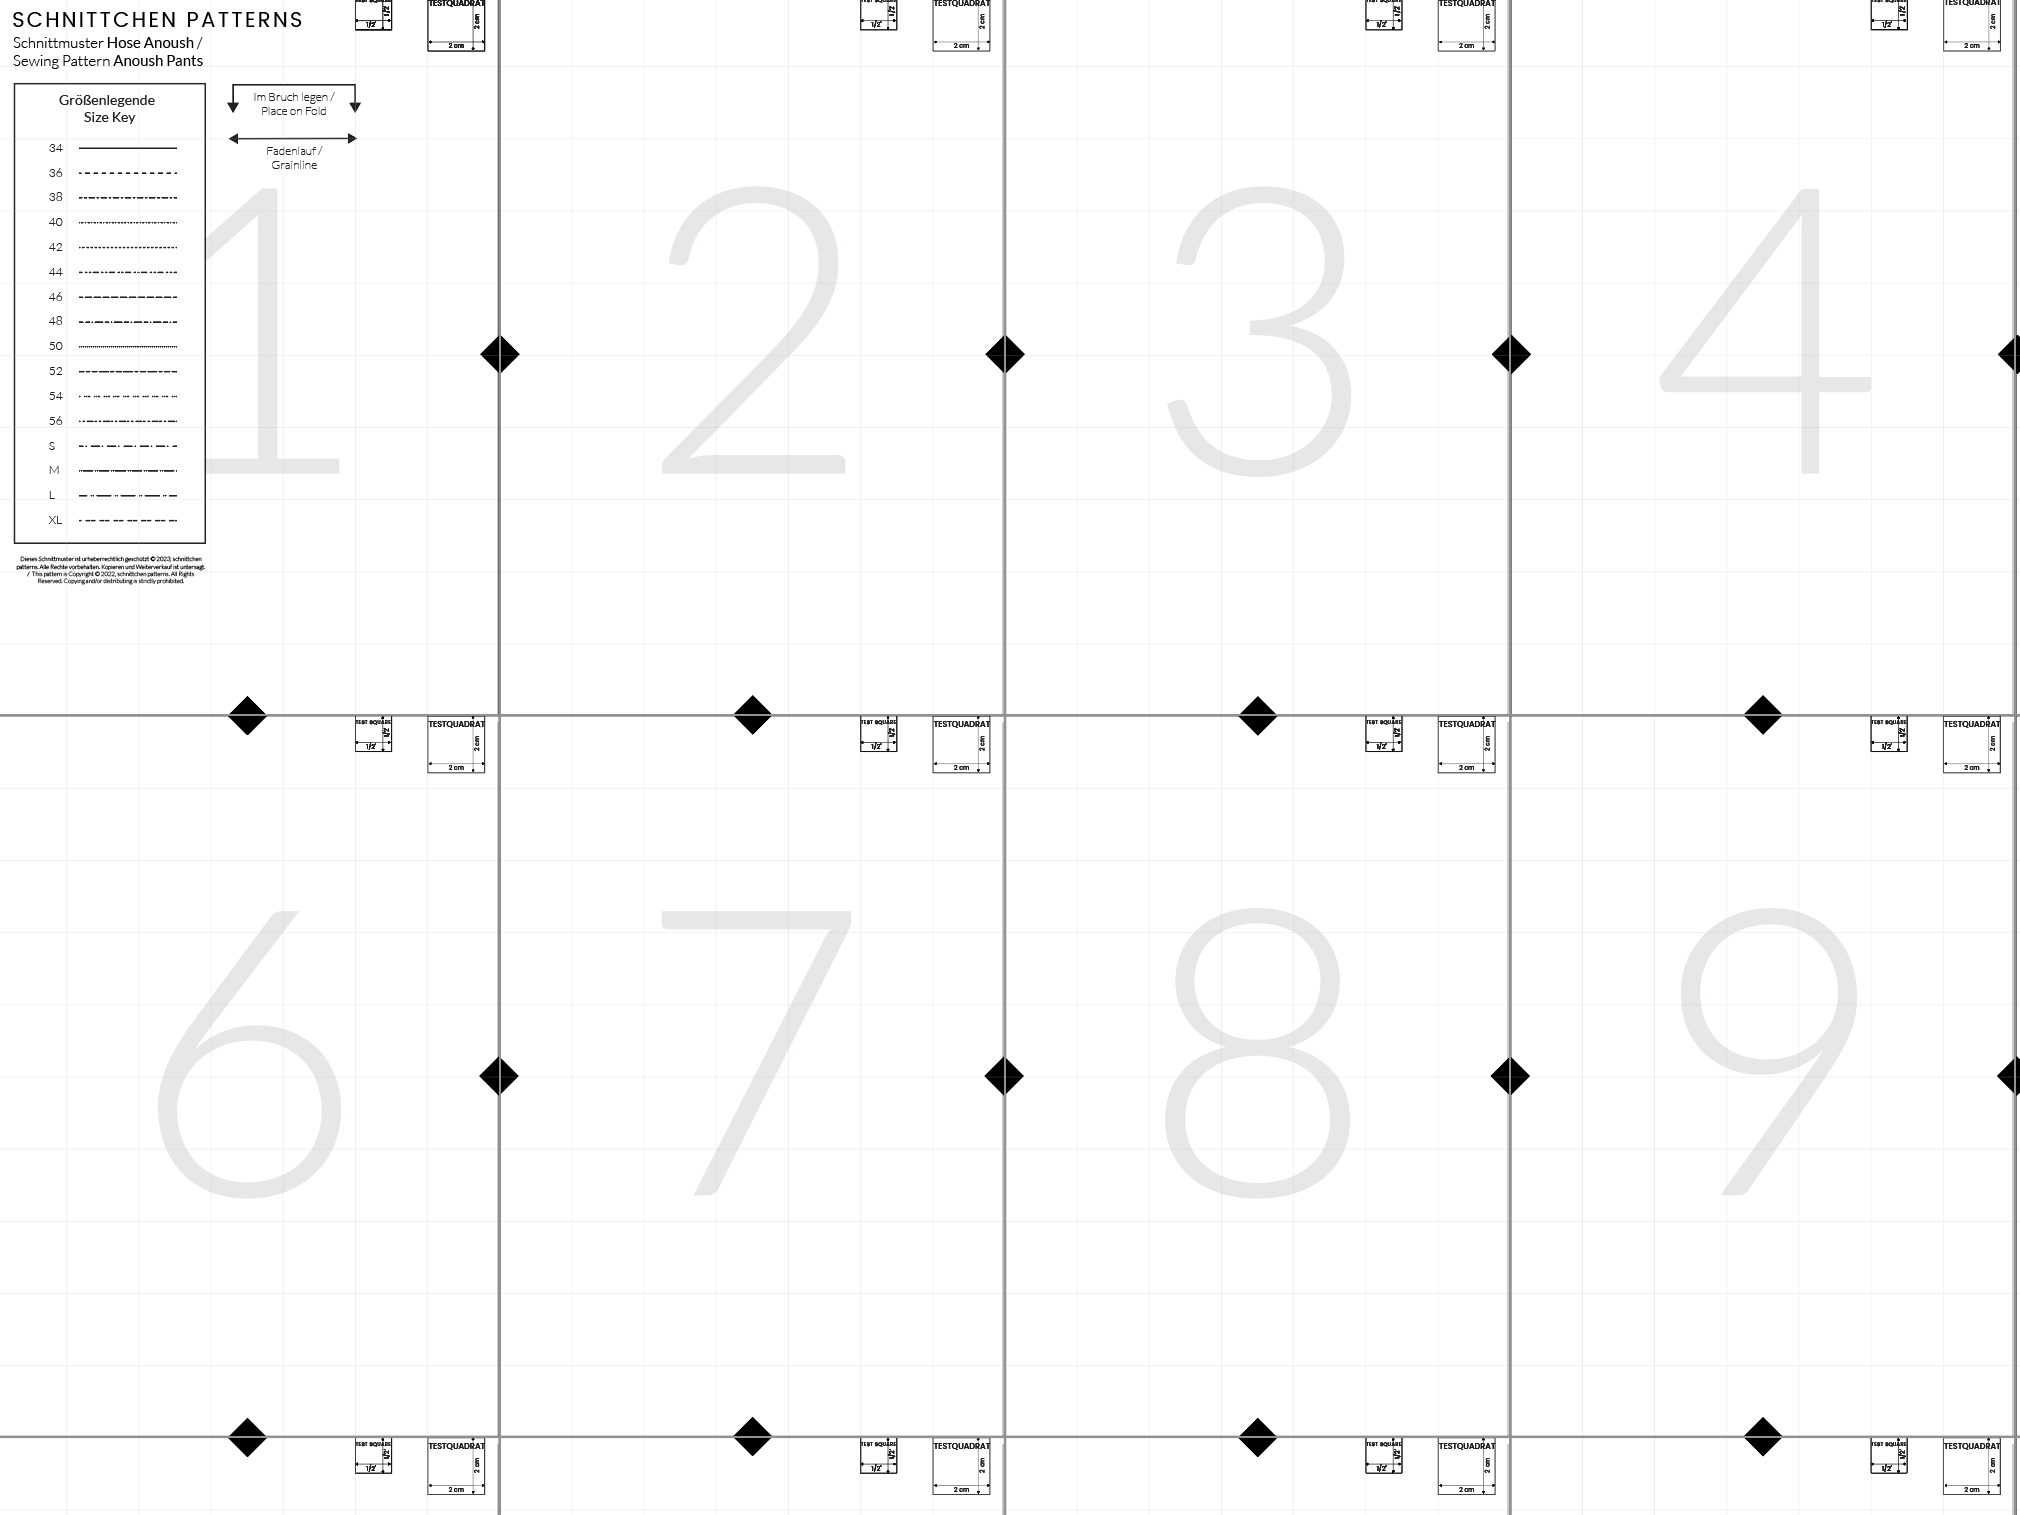
- All of the pages have a small frame and marks (small arrows) and are labelled. Sort the pages so that the first page is on top.
- Start gluing the first row. Leave the first page as it is, cut off the left edge on each of the following pages and glue the pages together so that diamonds and numbers match up.
- Continue for the following rows. Make sure to work precisely and the lines of the pattern pieces also match up.
- After finishing with the last row, glue the rows together. The first row is left as it is, cut off the upper edge of the following rows. Glue by starting from the middle and working your way towards the edges.