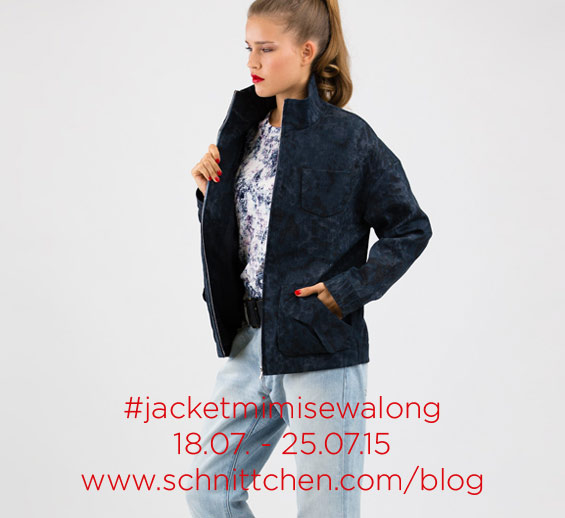
Hello and a warm welcome to Jacket Mimi Sewalong! I am really excited that it is finally starting and don’t worry – even if Sewing Pattern Jacket Mimi is a bit trickier to sew, together we can make it! I will guide you through step by step and we will take our time for all steps.
Pre – those who have a blog or perhaps an Instagramaccount: of course I would be pleased if your report about the Sewalong on your blog or on Instagram (or via any other channel…). It’s always exciting to see how work is progressing. If you have a blog, then you can link below on InkLinkz or you upload photos on Instagram using hashtag #jacketmimisewalong. Thank you!
This day I want to getting started quite soft. Today it’s about the pattern, choosing the size with a glimpse at the “real measurements” of the jacket and about the fabric choice. Tomorrow, (19th of june), we will cut the fabric and prepare everything for sewing. We also begin to sew and finish the lower pockets and place them on the front parts.
And so the Sewalong continues the following days:
20.06 .: sewing chest pockets; sewing yoke to back; closing shoulder seams
21.06 .: sewing cuffs; sewing sleeves; closing side and underarm seams; if any, fix upper collar
22.06 .: day off – giving those who would like to hop in the chance to rework everything until here
23.06 .: sewing lining – variations with & without collar
24.06 .: sewing the zipper; starting to fix the lining
25.06 .: lining; finishing the jacket
To begin, for those who have ordered a download pdf-pattern and you still have to stick it together, it is important that you first verify that all printer settings were correct and the pattern was printed out 1: 1. To be sure please measure in any case the test square. It must measure 10 x 10 cm square. For this, the printer must print at 100%!
If that’s all right, it’s time to stick together. For this you need:
– a pair of scissors
– a glue stick
– the largest possible working area
Detailed instructions for assembling the pattern can be found here: Download pattern
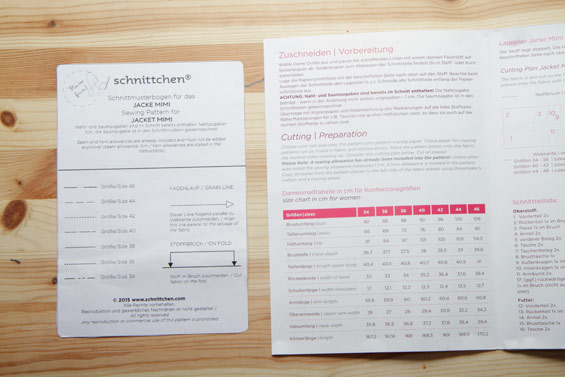
If you have assembled the pattern, you are – so to speak – on the same with those who ordered the printed sweing pattern. Now I would like to draw your attention to the size chart that can be found on the instruction. For choosing the appropriate size it may be helpful to know that your chest should be decisive. The blouson has a casual fit and oversized shoulders, so there is some leeway in chest, waist and shoulders!
If you are still not sure what size to choose here is a list of the “real” measurements – those you can remeasure at the end on the finished jacket.
Sewing Pattern Jacket Mimi – “real measurements”:
Size 34:
chest 106 cm; hem 94 cm; shoulder length 23 cm; . sleeve length incl. waistband 51.8 cm; back length 63.5 cm
Size 36:
chest 109 cm; hem 97 cm; shoulder length 23.3 cm; sleeve length incl. waistband 52.5 cm; back length 63.5 cm
Size 38:
chest 112 cm; hem 100 cm; shoulder length 23.5 cm; sleeve length incl. waistband 52.5 cm; back length 63.5 cm
Size 40:
chest 116 cm; hem 104 cm; shoulder length 23.7 cm; sleeve length incl. waistband 52.5 cm; back length 63.5 cm
Size 42:
chest 120 cm; hem 108 cm; shoulder length 23.8 cm; sleeve length incl. waistband 52.5 cm; back length 63.5 cm
Size 44:
chest: 124 cm; hem 112 cm; shoulder length 24 cm; sleeve length incl. waistband 52.6 cm; back length 63.5 cm
Size 46:
chest: 130 cm; hem 117 cm; shoulder length 24.4 cm; sleeve length incl. waistband 52.8 cm; back length 63.5 cm
Measure the chest all around the fullest part of your bust, the hem around the hips, the shoulder length from the neck over the shoulders, the sleeves length from shoulder length point arm “down” and the back length in the center back of your spine downwards the neck. As I said, the chest should be the starting point for the choice of the size.
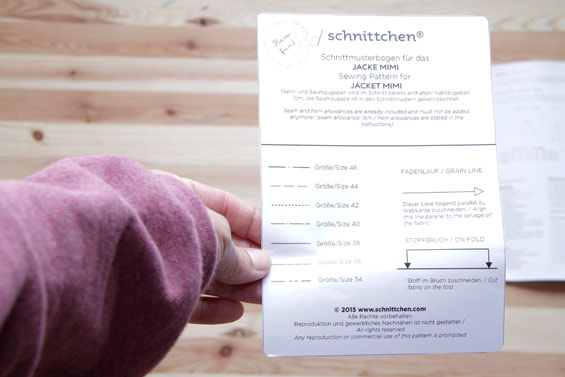
If you have determined the size, look for the right line on the pattern chart that corresponds to your size and cut the different pattern pieces . You find a list of all pattern pieces.
If you want to sew Mimi without a collar, of course you do not need to cut the collar pieces, but the back facing! Nevertheless, a few tips. Jacket Mimi can be made with different materials – in order to preserve the shape, the fabric should have a little “grip”.
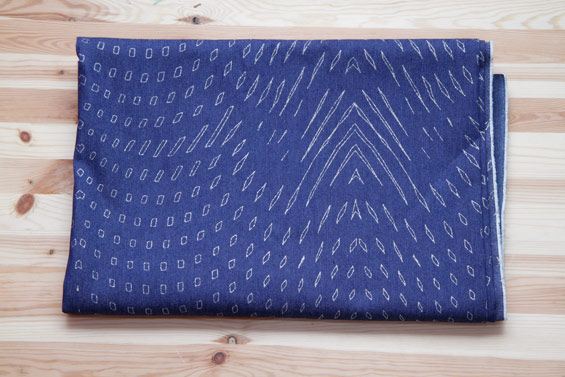
Otherwise your jacket may “slump down”. For this Sewalong I opted for some Denim I found at The Sweet Mercerie. It is nice and light – so great for summer – but still has a bit of grip!
With this fabric I will sew Jacket Mimi with collar. And here is what else you need to sew the jacket:
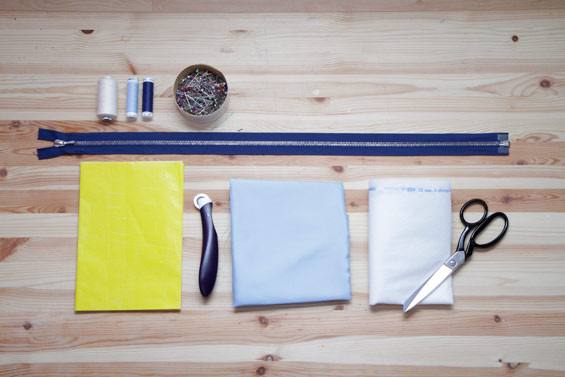
A dividable zipper 65 cm long (with collar) or 55 cm (without collar). For jackets I always prefer metal-zippers but of couse you can also use a plastic-zippers. In addition, you need some fusible interfacing. Those of you who are uncertain what kind of you need should ask in the fabric store because it depends on the fabric you use. Use a thicker fusible interfacing for lighter fabrics, so that i.g. the pockets do not “slump down” and also the collar remains in good shape. For my Denim I use F 220 – a nice “in-between” fusible interfacing.
As Jacket Mimi is lined you also need some lining. Another tip: cut the pocket lining in a matching color to the outer fabric as – when attaching the pockets – you might not see anything of the lining. Inside the jacket you can of course use any color you like! I will use a light blue one for my sparkling Denim…
Further you need sewing thread, copy paper and some good scissors and pins.So, we are already near the end of these “first steps”. At the end – here is my choice for the Jacket Mimi without collar. It is a beige canvas with some white speckles. As lining I will use a yellow one. The great canvas I found incidentally at Stoffsalon Wien. Is there even in pink and turquoise … On the photo, it looks a little bit creased. This is because I have washed the fabric before cutting. This is also what you should do when using cotton fabrics. Not that your jacket shrinks at first wash… What fabric do you use? Just let me know…See you tomorrow!

