
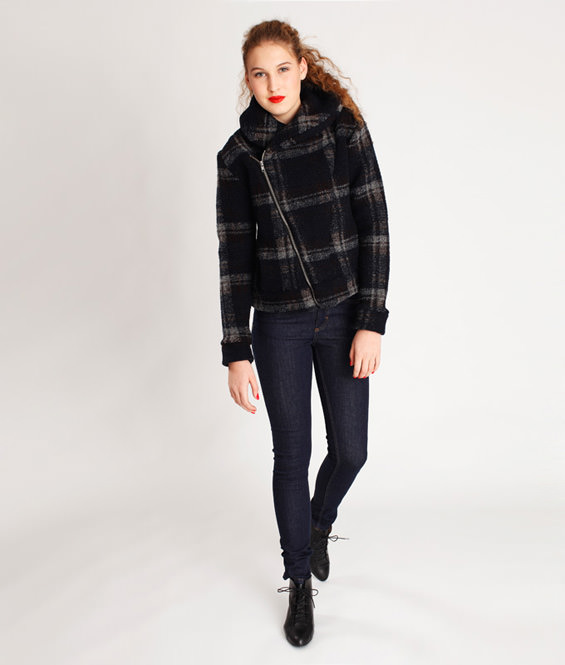
There is a new sewing pattern at schnittchen. Sewing Pattern Jacket & Vest Tina is a comfy jacekt with a wide collar, a slanted zipper and pochest inside the dioganal seams in the front. You can also sew Tina without sleeves as a vest and you can use all kinds of different fabric qualities such as wool, denim, leather or even sweat.
With the following tutorial I show you step by step how to sew Tina. I am excited to see your variations of this sewing pattern. Don’t forget to upload images at schnittchen-club and get a 20% discount on your next order!
Have fun sewing!
1) Neaten all pieces using a zigzag stitch. Apply fusible interfacing to the front piece facings and, if applicable (vest), to the armhole facings. Please adhere to manufacturer’s instructions.
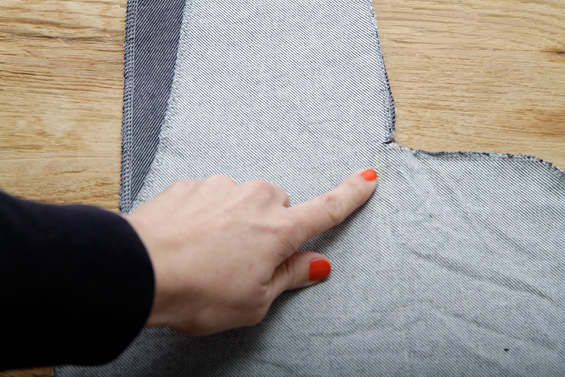
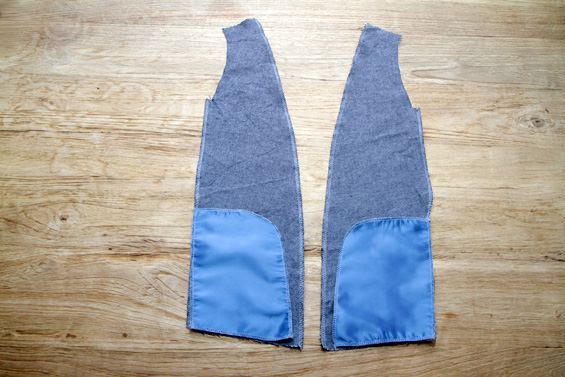 2 ) Pin the pocket pouch lining to the center front piece, right sides together. Heed the mark “start of pocket pouch”.
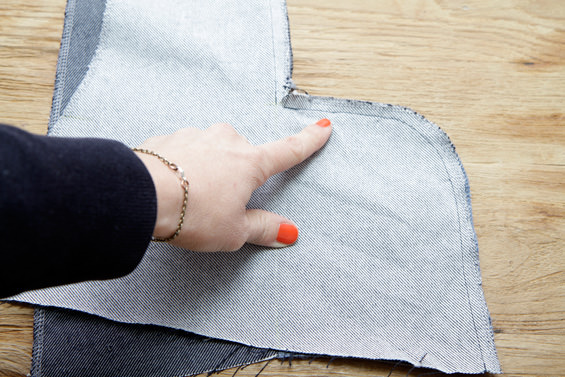
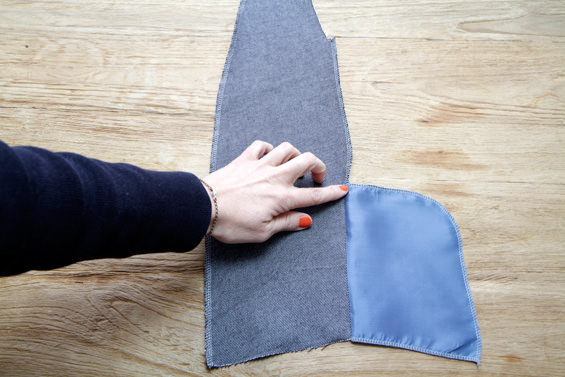 3 ) Sew the pocket pouch lining to the center front piece allowing a seam allowance of 0.8 cm.
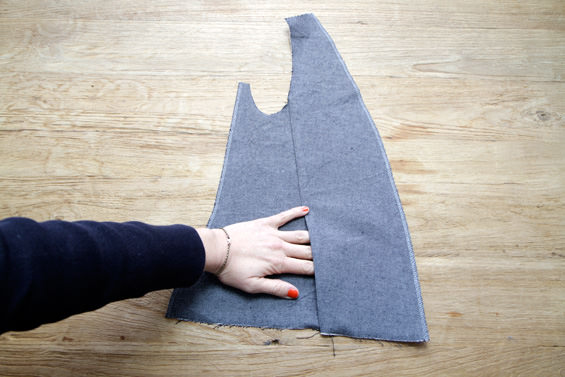
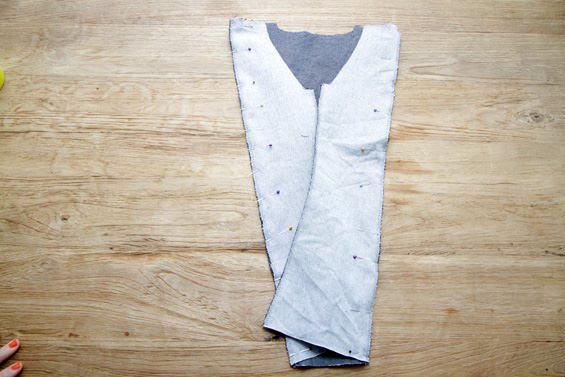
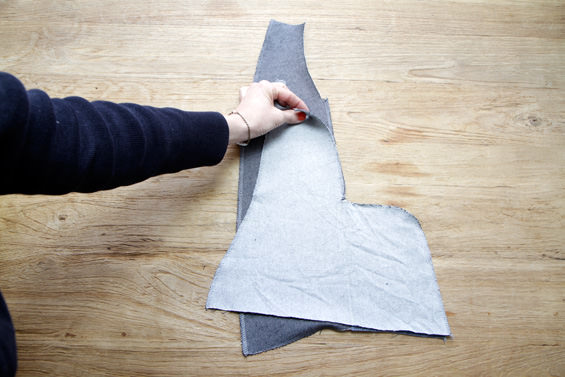 4 ) Pin the front center piece to the side piece, right sides together Make sure the marks match up.
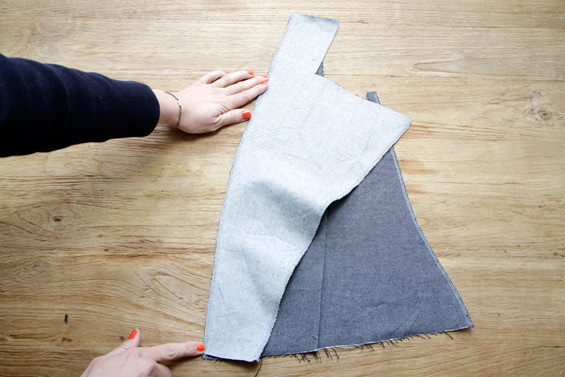
 5 ) Close the diagonal seam as far as the mark for the start of the pocket pouch. Incise the seam allowance as far as the notch
6 ) Press the seam allowance into the front center piece.

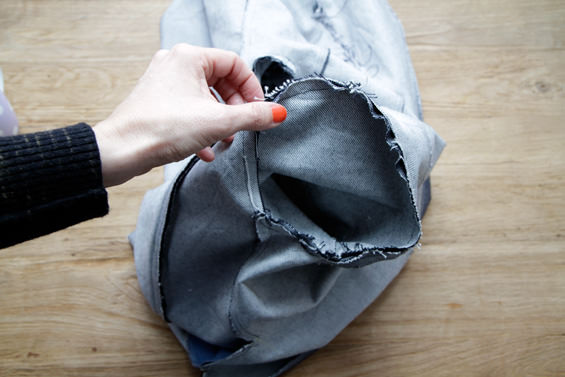
 7 ) Pin the pocket pouch to the integrated pocket pouch (outer fabric), right sides together. Close pocket pouch.
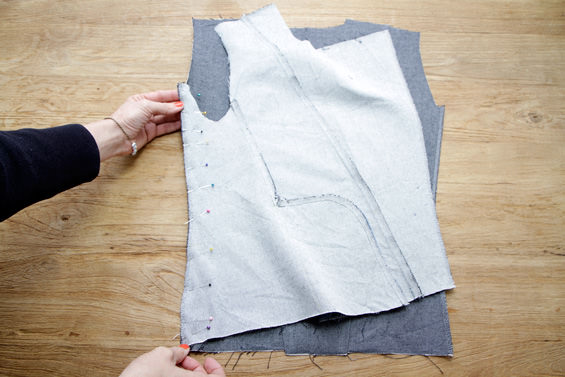
 8 ) Pin the left front piece (without interfacing) to the center front piece, right sides together. Make sure the marks match up. Sew and press the seam allowances towards the center front piece.
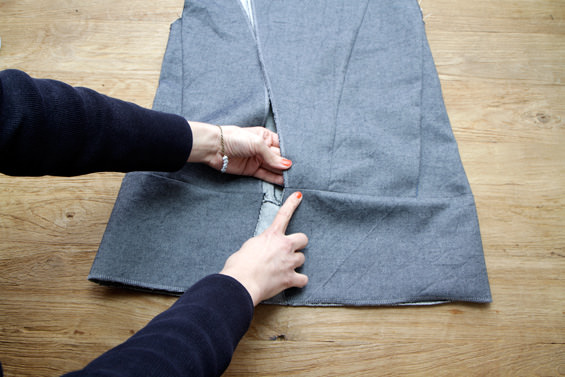
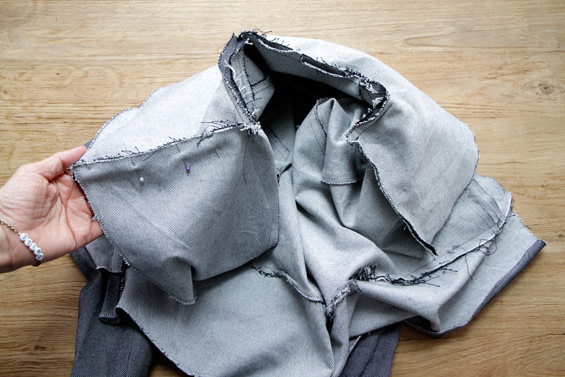
 9 ) Pin the center back piece to the side back piece, right sides together. Make sure the marks match up. Sew and press seam allowances towards the center back.
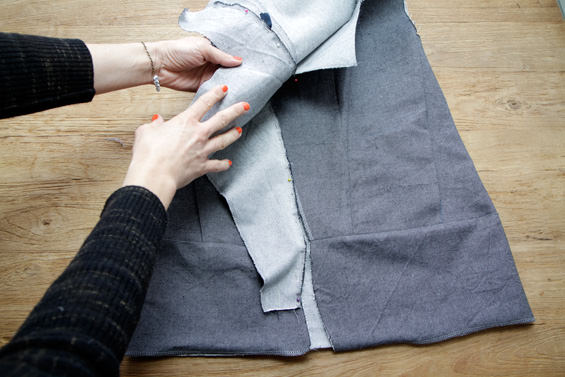
 10 ) Pin the side back piece to the side piece, right sides together, and sew. Make sure the marks match up.
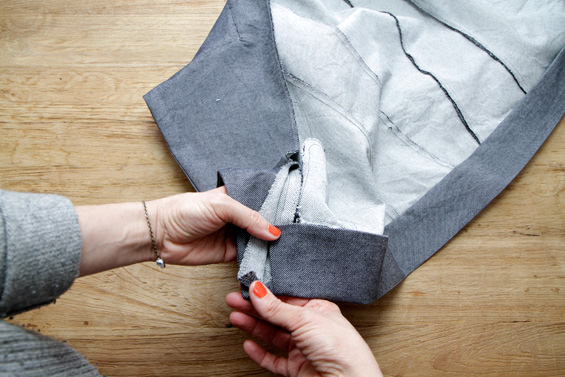
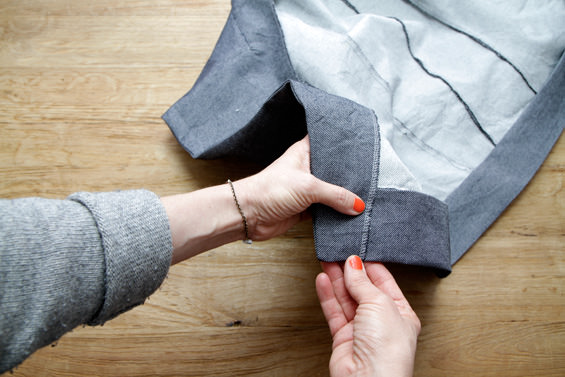
 11 ) Pin the bottom cuff to the bottom edge, right sides together. Heed the marks for “right” and “left side”. Sew and press seam allowances down.
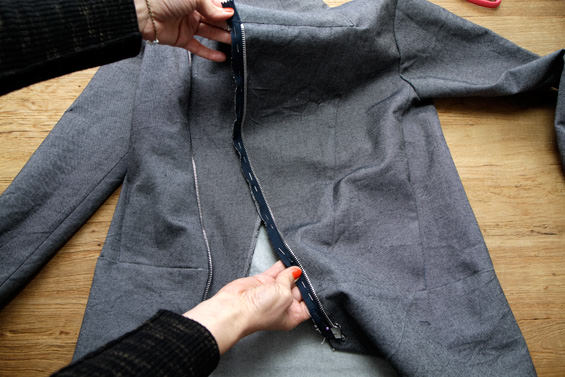
 12 ) Pin the right front piece to the center front piece, right sides together. Make sure the marks match up. Make sure to position the right part of the zipper between the two pieces and to pin it down as well. The teeth of the zipper start where the zipper is marked in the pattern. Pin the overlapping fabric of the zipper to the side.
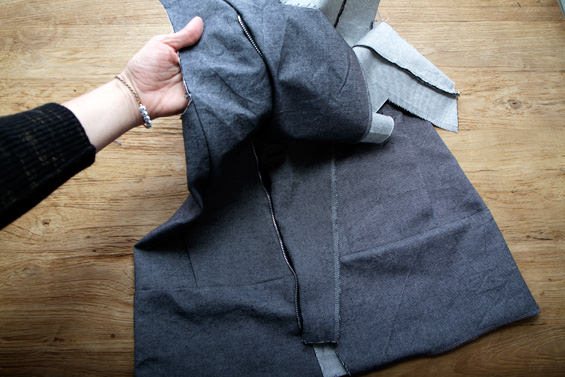
 13 ) Sew the right front piece and the zipper including the zipper foot. Warning: in the end the right front piece is 1 cm longer than the finished bottom cuff on the fold.
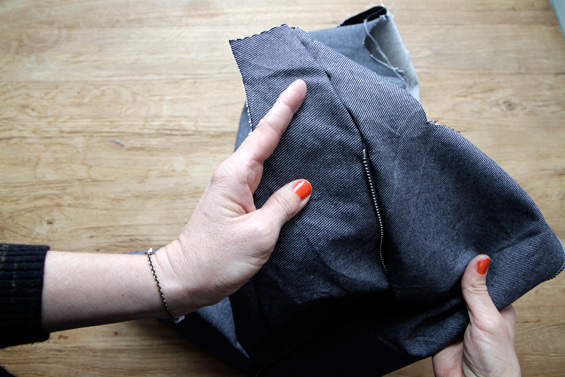
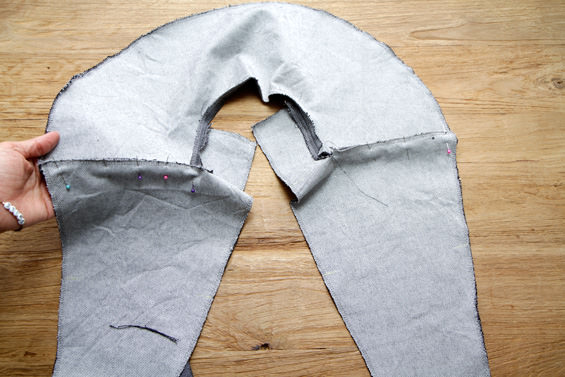
 14 ) Lay front and back piece right sides together and close the shoulder seams. Press the sewing allowances to the back.
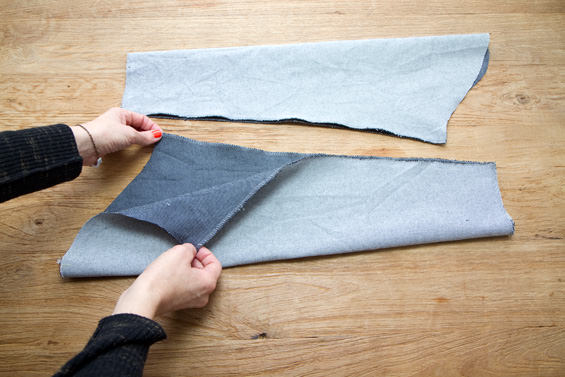 15 ) Pin the sleeves right sides together to form a tube. Close lower arm and press the seam allowances to the back.
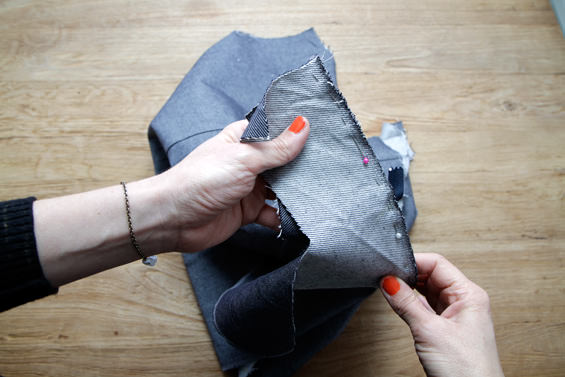
 16 ) Pin the sleeve cuffs to form a tube as well and sew the short edges. Press the seam allowances to the back.
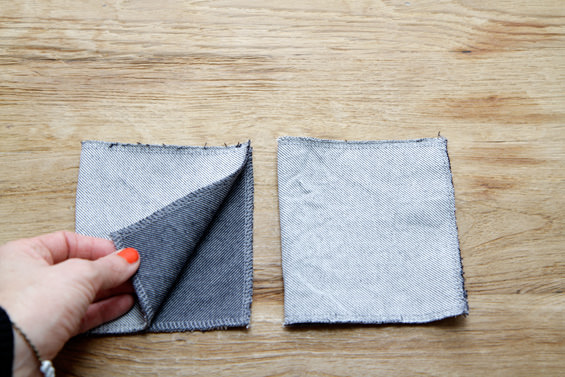
 17 ) Lay sleeve cuffs on the fold and press.
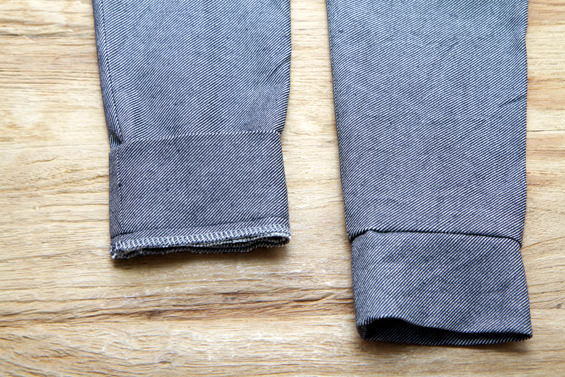
18 ) Pin the sleeve cuffs to the sleeves, right sides together. The lower sleeve seams match up. Sew and press the seam allowances up.
 19 ) Pin the sleeves to the armhole, right sides together. The seams of the lower arm and the side seams match up. The mark for the shoulder matches up with the shoulder seam. Heed the mark on the sleeve indicating the front piece.
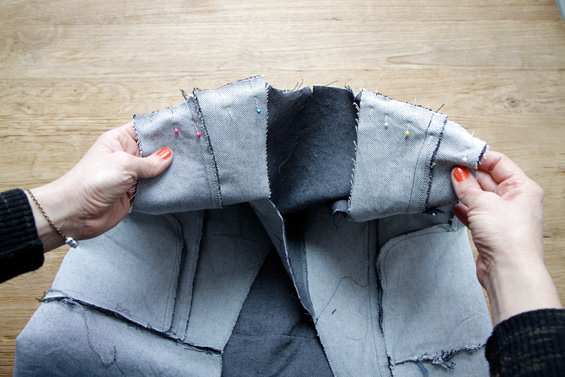
 20 ) Pin undercollar to the head opening, right sides together and sew. Sew “around the corner” like this: stop 2cm before the corner, leave the needle down in the fabric and lift the footer. Next make a notch of 0.9 cm in the seam allowance of the corner of the head opening (heed the mark in the pattern) and carefully pull apart. Sew as far as the corner; again leave needle down in the fabric and turn the jacket by 90 degrees, lower the footer and sew. It is important that you sew just above the notch to avoid leaving a hole. Press seam allowances of the front pieces apart, of the back piece upward.
 21 ) Pin the upper collar to the facings of the front piece and sew. Heed the description at 20. Press seam allowances apart.
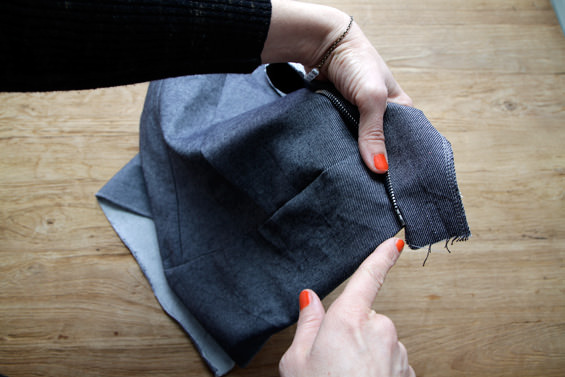
 22 ) Sew the left part of the zipper together with the foot of the zipper to the left front piece, right sides together.
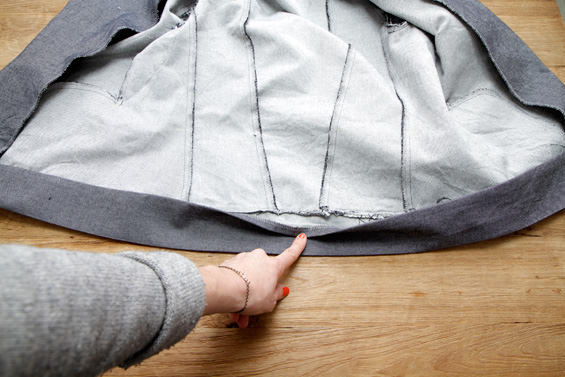
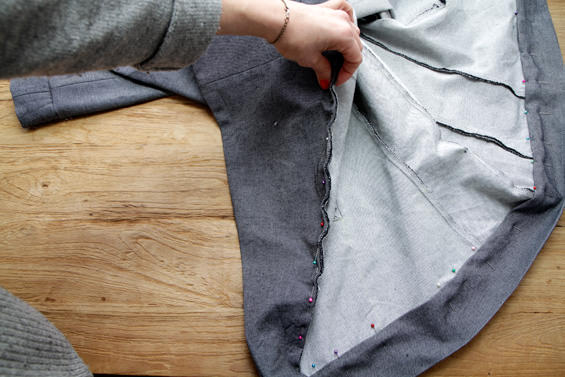
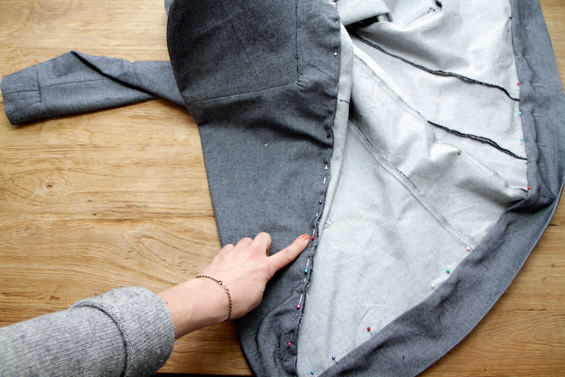
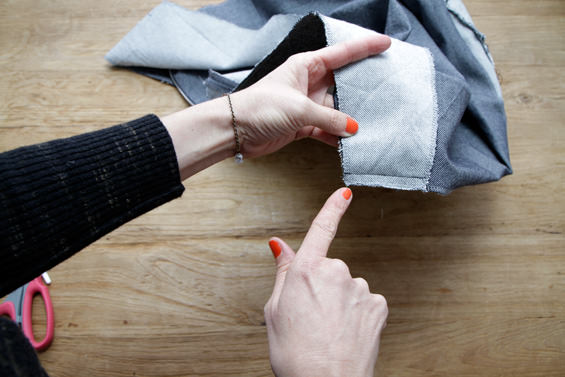 23 ) Pin the facing of the left front piece to the lower edge of the bottom cuff and sew. Press seam allowance upward. Now “pull up” the hemline including facing and turn over: the right part of the hemline (heed mark), the front edges and the edges of the collar over the front facings and the upper collar.
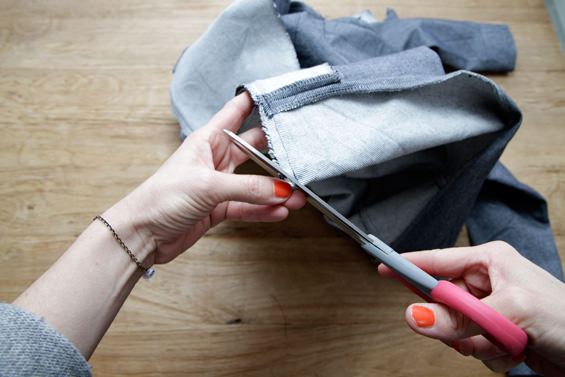
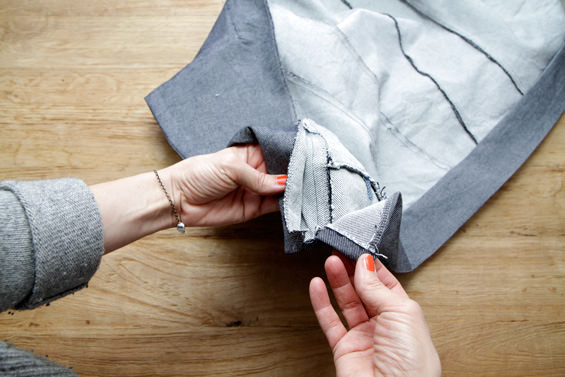
 24 ) Notch the seam allowances in the corners of the hemline diagonally, notch carefully along the curve of the collar using pointed scissors.
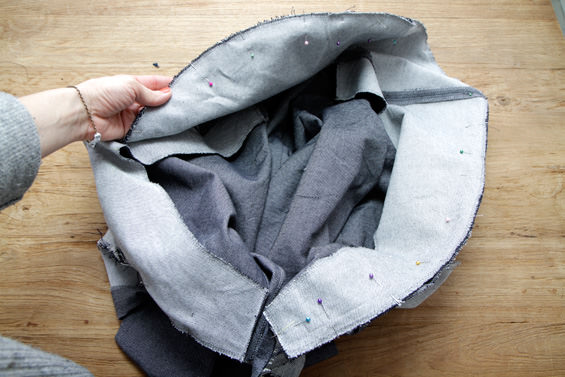
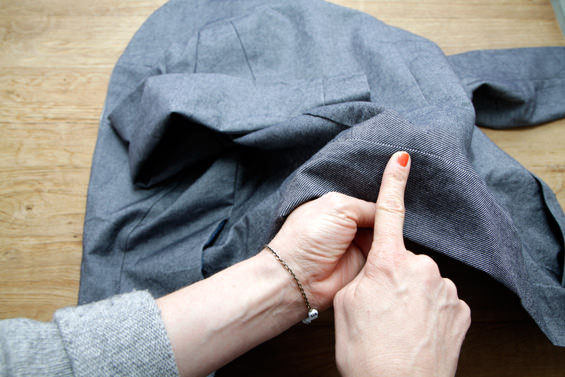
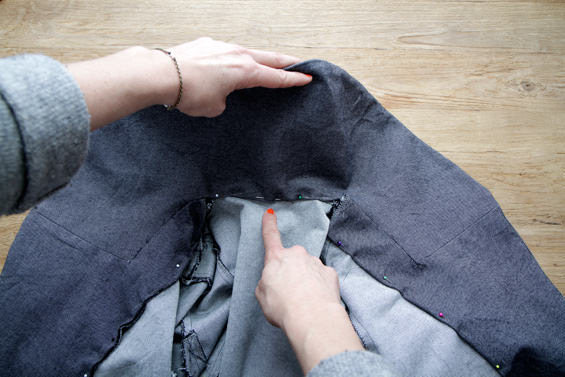
 25 ) Turn facings to the inside of the jacket and sew along the diagonal seams. Turn over the bottom cuff (where there is still a raw edge) by 1cm and hand-sew to the seam allowance. In the same way turn over the seam allowance of the upper collar head opening by 1cm and hand-sew to the seam allowance.
 Ready – Congratulations!


I would really love to line this jacket do you have any tips? Thanks