O.k. I admit – September is coming almost to its end and I only now present you the Schnittchen of the Month. I wanted to offer the Jacket Mona, though it was my ambition to develop a lining for jacket. But this had to be adapted and a sample had to be sewn and therefore I present you the Schnittchen of the Month pretty late.
With my Jacket Mona with lining I also would like to join the the Selfish Sewing Week, which was ushered on Monday by Imaginegnats in cooperation with Kollabora. The motto of this wonderful project is self-explanatory – this week is all about “selfish” sewing projects that – once they are ready – you can upload at Kollabora here. At Imaginegnats you can also win a lot of patterns from independent pattern labels (schnittchen is attending!). As I think this idea is so nice and that you should be very busy sewing for your own this week, I give you the whole week until September 28th a 20% discount on all patterns. Simply enter the coupon code “selfishsewingweek” when ordering.
For selfish sewing week I am still planing to sew the Pants Lisa. Sophie I have already sewn and I’ll show you the blouse later this week.
But now back to the Schnittchen of the Month – back to sewing pattern Jacket Mona. Lined it is a bit tricky but in the end a really pretty affair! So, who “dares” to sew Sewing Patterns Jacket Mona with lining it is now available as pdf-download with any purchase of Sewing Pattern Jacket Mona. Those who want to keep it somehow easier there still is Sewing Pattern Mona without lining. A detailed Sewing Tutorial with photos you may find here.
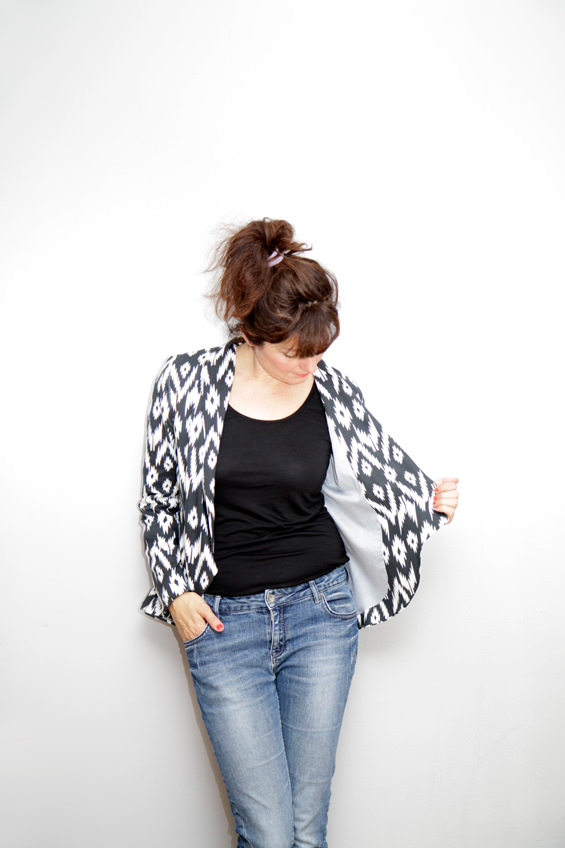
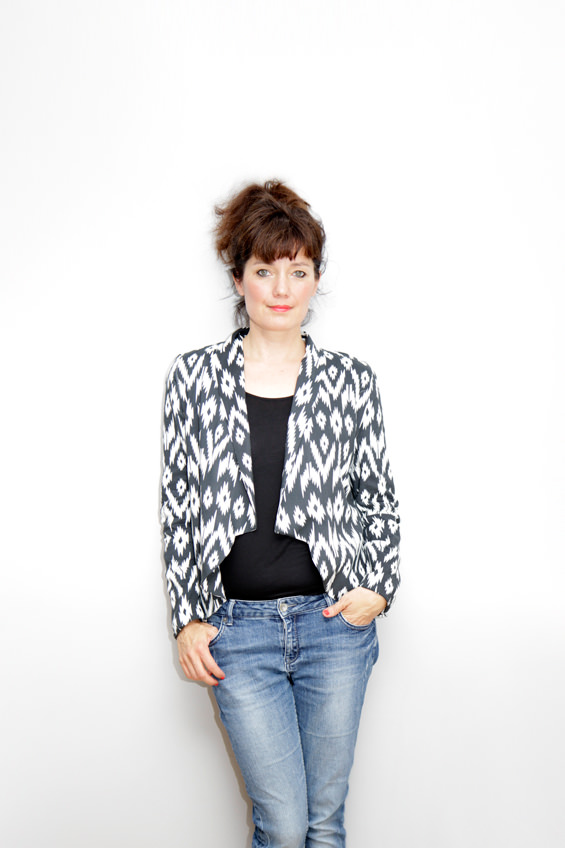
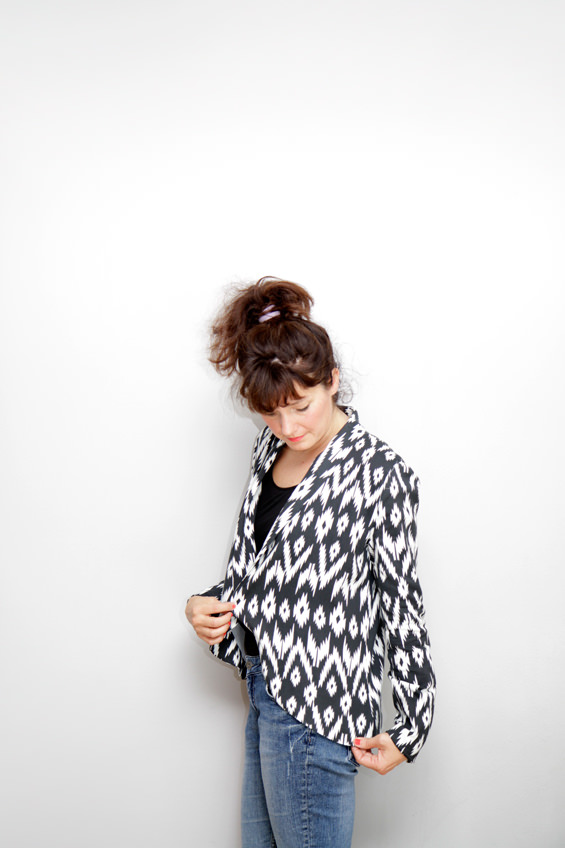
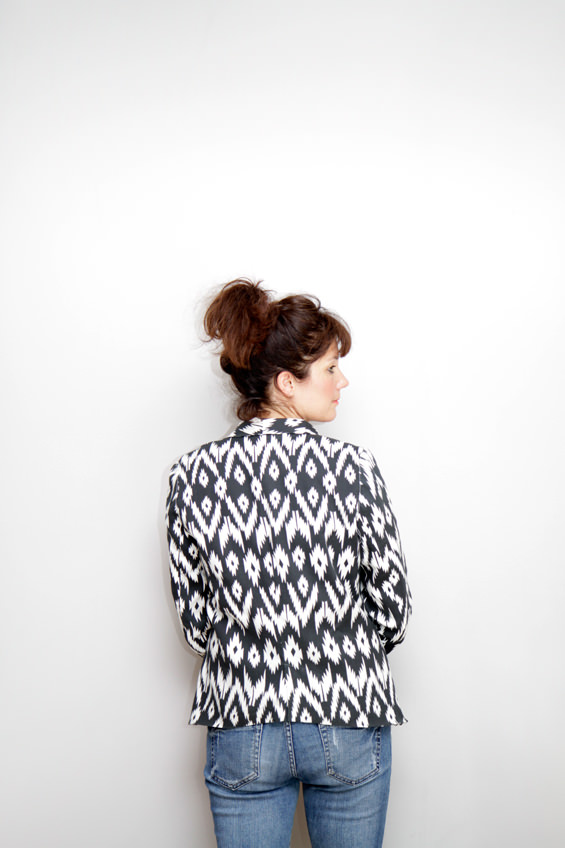
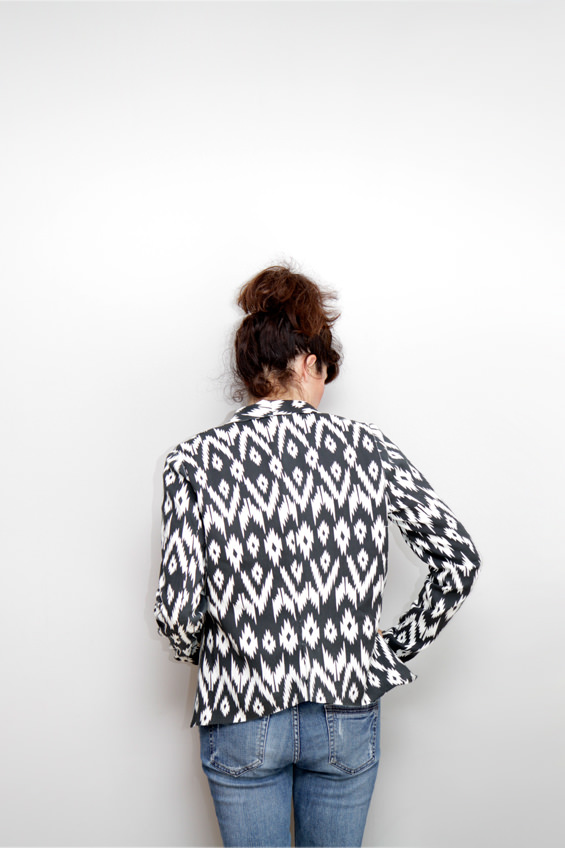
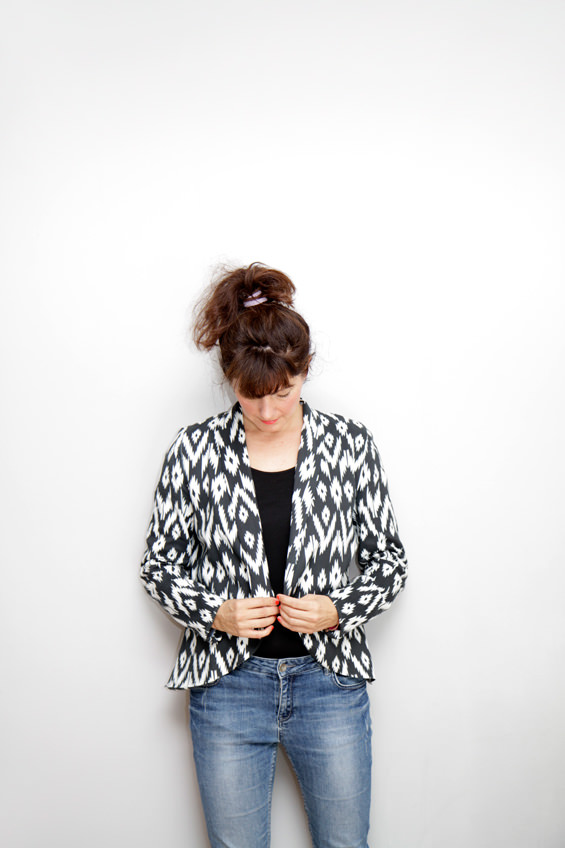
My jacket Mona is made with a wonderful Viscose Fabric I found at the French online shop AnnaKaBazaar. Great to handle and the jacket turned out quite beautiful. As lining I chose a light blue cotton fabric. While sewing I took pictures of each step and I hope the following Tutorial will help you sewing your lined jacket!
Have fun!
Sewing Pattern Jacket Mona with lining sewing instructions:
The use of lining is not easy. Therefore, this pattern is suitable for advanced seamstresses or under supervision.
Recommended fabric:
light wool fabrics, cotton fabrics, viscose
Fabric requirements:
Fabric:
Sizes 34-38: 150cm
Sizes 40-42: 160cm
Sizes 44-46: 170cm
* with a fabric width of 140cm
Lining:
Sizes 34-38: 130cm
Sizes 40-42: 130cm
Sizes 44-46: 140cm
* with a fabric width of 140cm
Material:
fusible interfacing 90cm x 100cm
thread
Outer jacket:
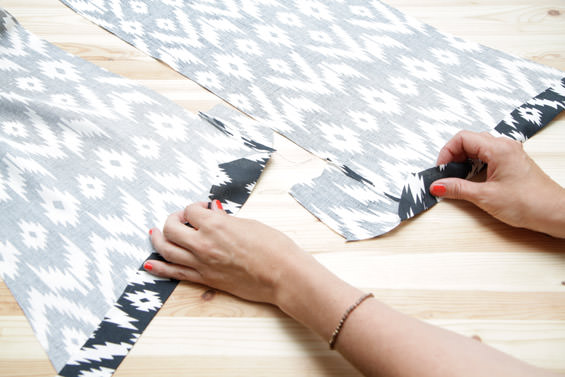
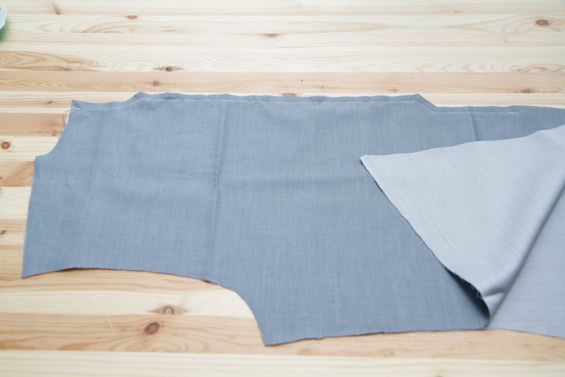
( 1 ) Add fusible interfacing to the front facings, add 4 cm to the seamline and the vent. Follow the instructions given by the manufacturer. I did not use any fusible interfacing as I wanted the jacket to drape lightly!
( 2 ) Fold the back hem up 4cm and press.
( 3 ) Also fold the sleeves hem up 4cm (see mark) and press.
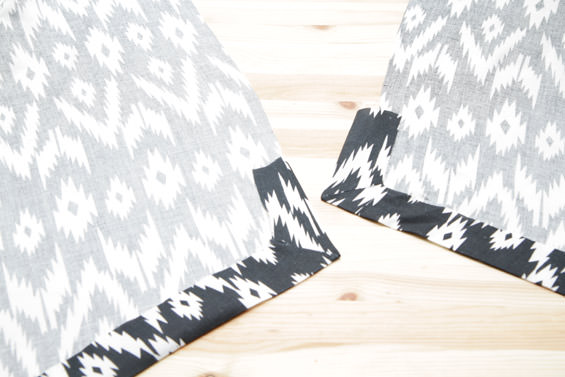
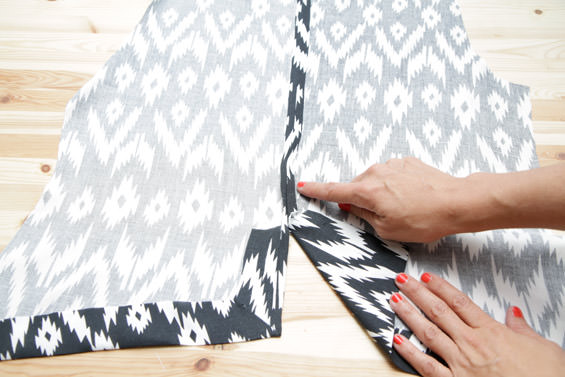
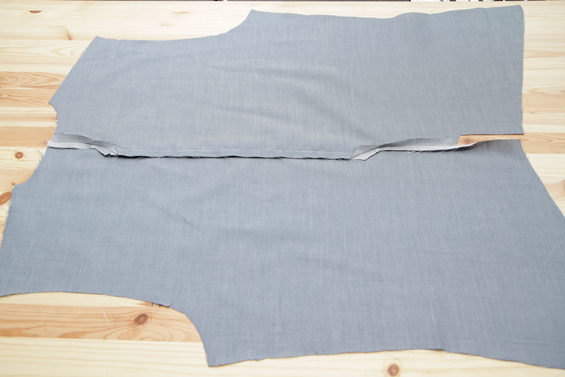
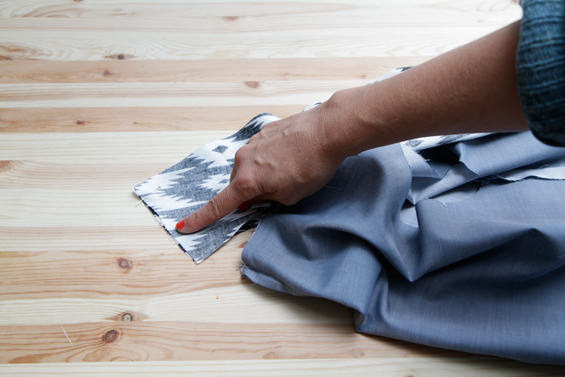
( 4 ) Close mitered corner at over- and underlap. To do so sew the diagonal edges right sides together using a sewing allowance of 0,5cm. End sewing 1 cm before edge of vent! Carefully press sewing allowance open from the right.
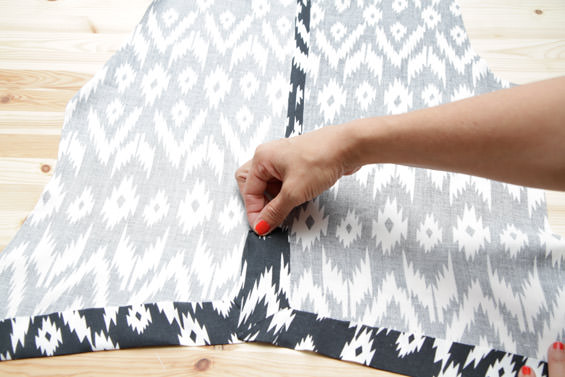
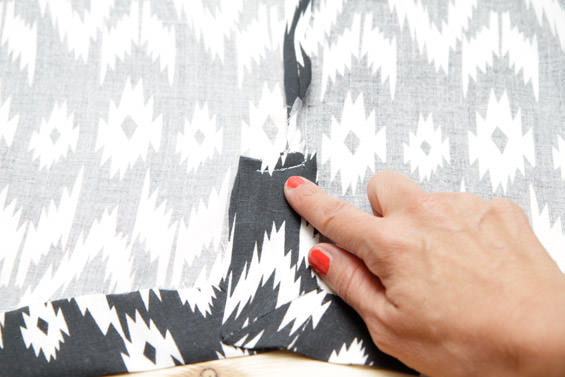
( 5 ) Pin back pieces right sides together and close the back middle. When doing this sew up to the start of the vent and continue sewing the diagonal part of the vent. Fold the vent facing in and fetch in seam. Press sewing allowance open.
( 6 ) Pin the back and front pieces right sides together and close side seams. Press sewing allowance open.
( 7 ) Also close shoulder seams. Press sewing allowance open.
( 8 ) Carefully clip the sewing allowance as marked in the pattern.
( 9 ) Pin the back middle of the shawl collar right sides together and close seam. Press sewing allowance open.
( 10 ) Pin the collar to the neckline right sides together and sew. When reaching the corner, leave the needle down, lift the foot and turn the jacket slightly, then let the foot back down and continue sewing. Press sewing allowance open.
( 11 ) Pin the upper sleeve to the sleeve right sides together. Close the seam and press sewing allowance open.
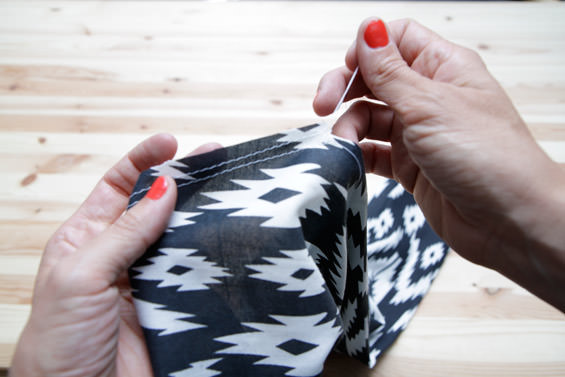
( 12 ) Insert sleeve. Place a row of gather stitches to the top using a long stitch. Sew from mark to mark along the sewing line (=1cm from the edge) and leave the threads hanging loose.
( 13 ) Pin the sleeve to the armscye right sides together. Make sure marks match up nicely. Pull the bobbin thread of the seam to fit the sleeve smoothly into the armscye. Sew and make sure to avoid small dents.
Lining Jacket:
( 14 ) Pin back pieces of lining right sides together and close back middle with 1cm sewing allowance. Sew up to the start of the vent. Press lining pleat to the side.
( 15 ) Pin the back and front pieces right sides together and close side seams. Press sewing allowance open.
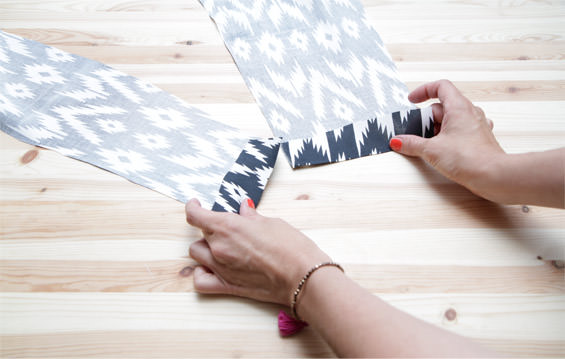
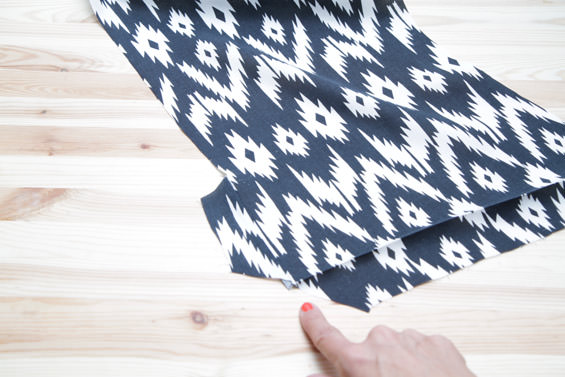
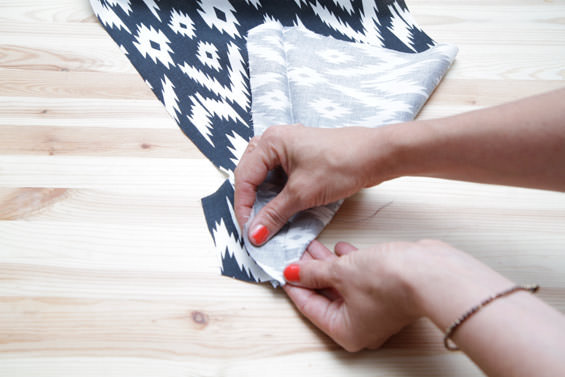
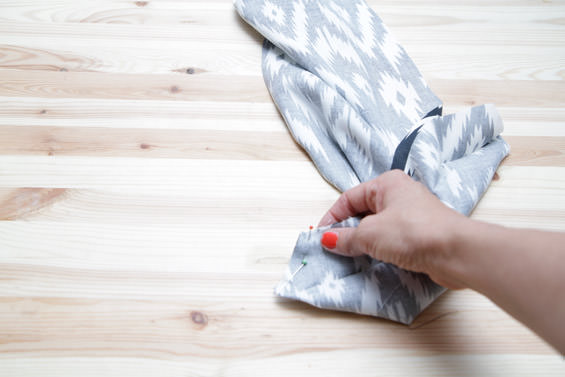
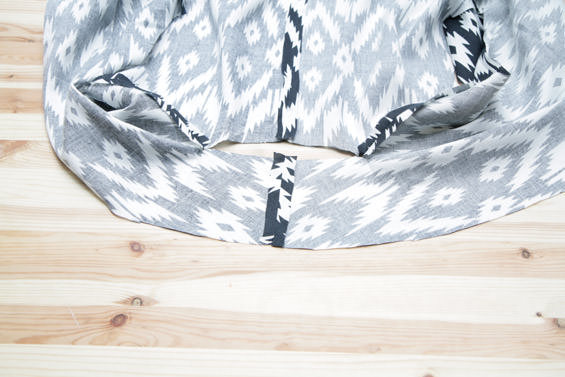
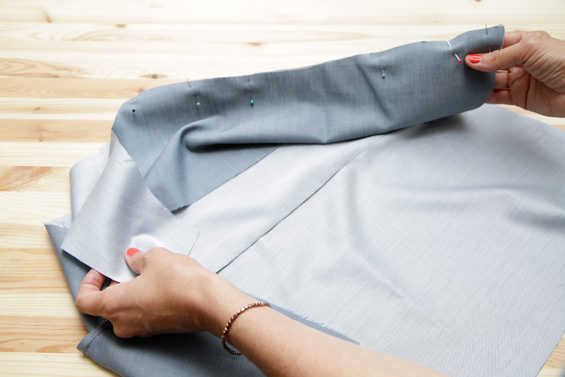
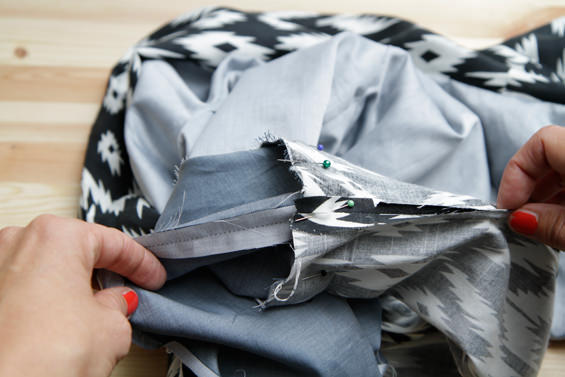
( 16 ) Pin side seams of the front facings (= 4cm strip at the end of the facings hem) right sides together to the back of the outer jackets hem. Neaten and press seam allowance open.
( 17 ) Pin the front facings right sides together and sew the back middle. Press sewing allowance open.
( 18 ) Then neaten the facing to the outer jackets hem. Sew up to 8cm before vent! Press seam allowance open.
( 19 ) Pin the back and front pieces of lining right sides together and close shoulder seams. Press sewing allowance open.
( 20 ) Pin the back middle of the shawl collar right sides together and close seam. Press sewing allowance open.
( 21 ) Again carefully clip the sewing allowance as marked in the pattern.
( 22 ) Pin the collar to the neckline right sides together and sew. When reaching the corner, leave the needle down, lift the foot and turn the jacket slightly, then let the foot back down and continue sewing. Press sewing allowance open.
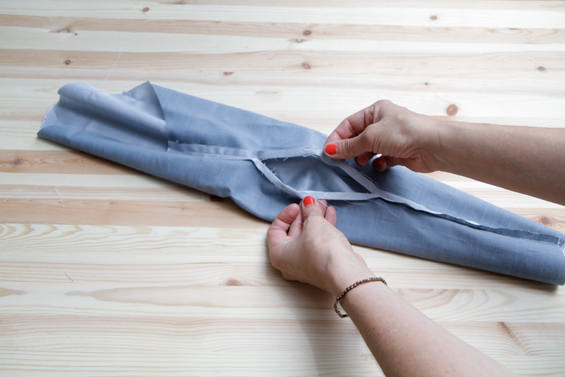
( 23 ) Pin the upper sleeve to the sleeve right sides together. Close the seam and press sewing allowance open. Continue with the ellbowseam: pin right sides together and sew. Leave a gap of 20 cm in the left sleeve seam. You will need this for turning the finished jacket right side out. Press sewing allowance open.
( 24 ) Insert sleeve. Place a row of gather stitches to the top using a long stitch. Sew from mark to mark along the sewing line (=1cm from the edge) and leave the threads hanging loose.
( 25 ) Pin the sleeve to the armscye right sides together. Make sure marks match up nicely. Pull the bobbin thread of the seam to fit the sleeve smoothly into the armscye. Sew and make sure to avoid small dents.
Connecting the lining and the outer jacket:
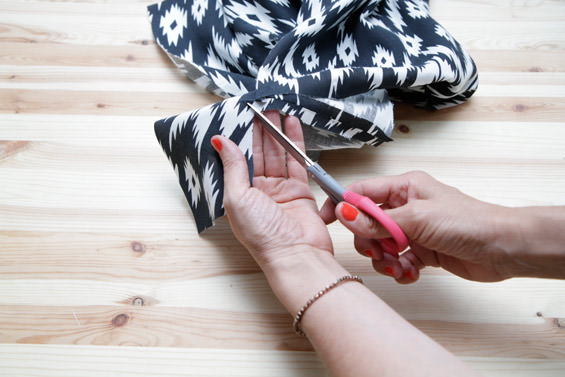
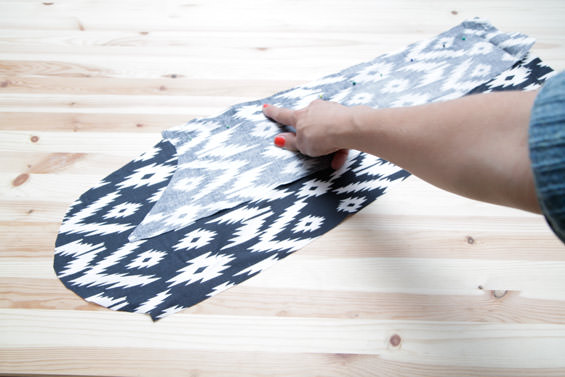
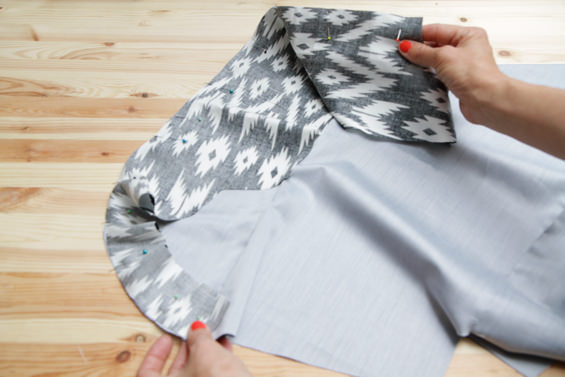
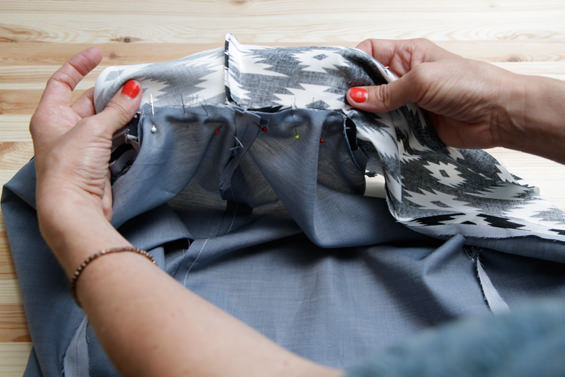
( 26 ) Pin jackets right sides facing each other. Sew along the neckline and the rounded front edges. Clip sewing allowance where needed.
( 27 ) Turn the jacket to the right and press edges.
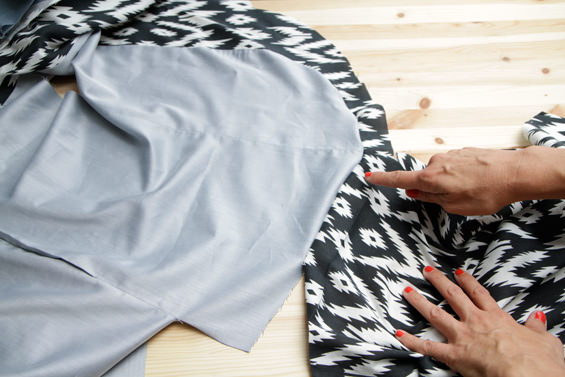
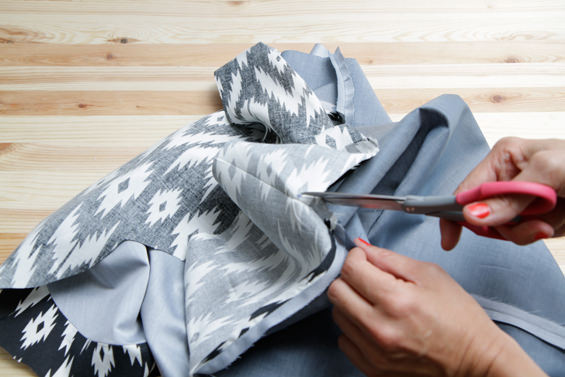
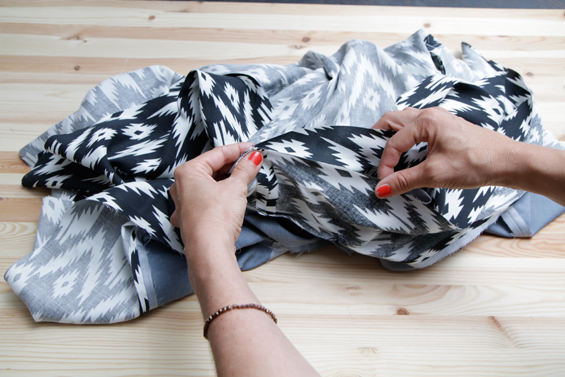
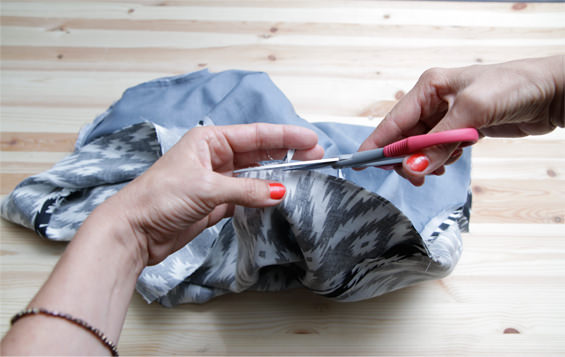
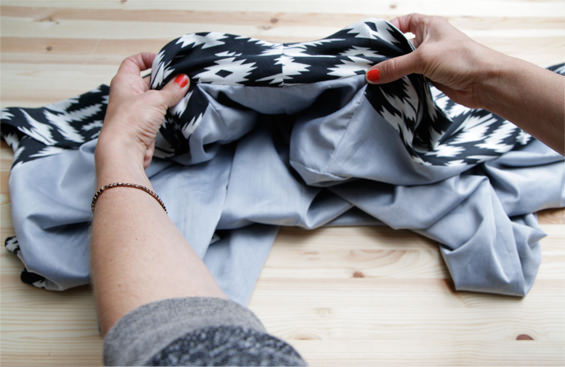
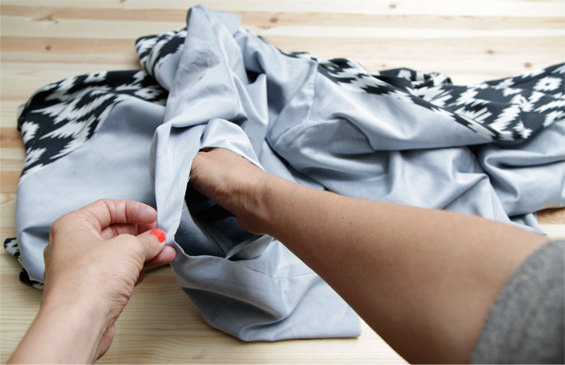
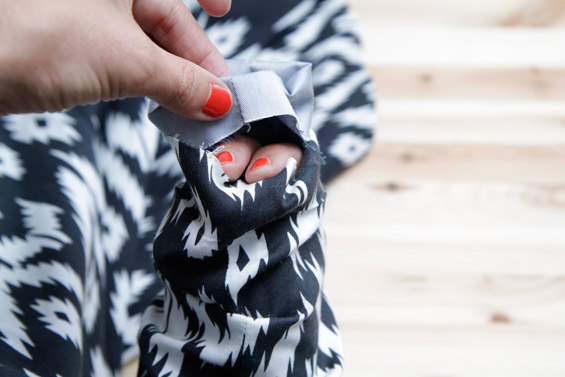
( 28 ) To fix the neckline grab through the turning hole and place the seam allowancesof the neckhole (lining and outer jacket) rights sides together. Stitch together. Take care not to sew into the jacket!
( 29 ) Carefully clip the sewing allowance at the left back of the lining as marked in the pattern.
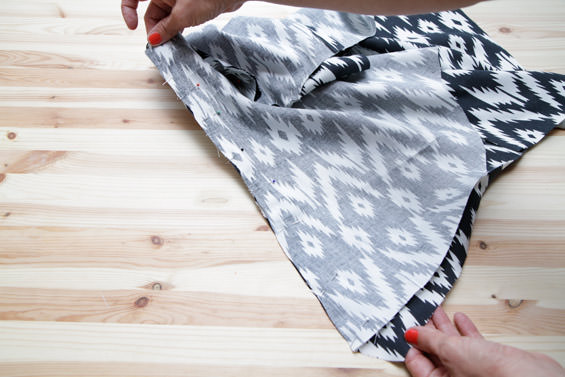
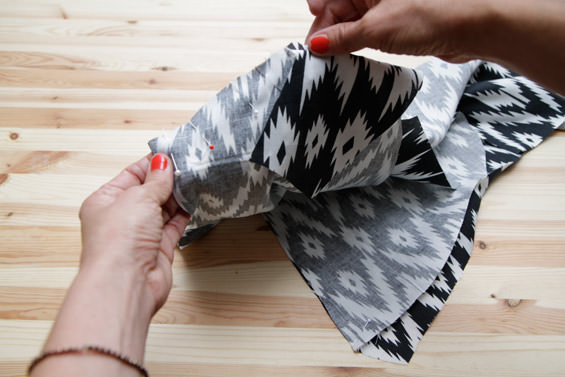
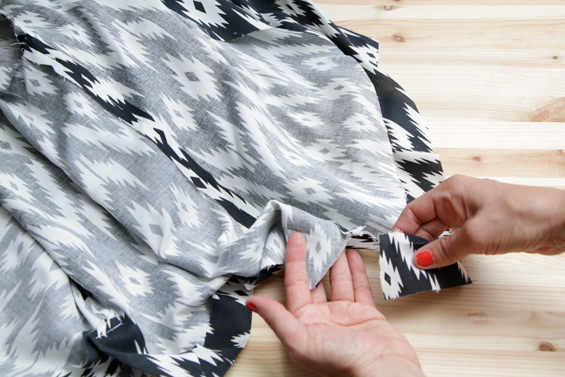
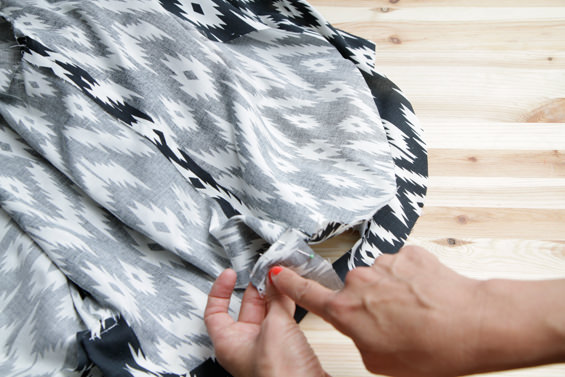
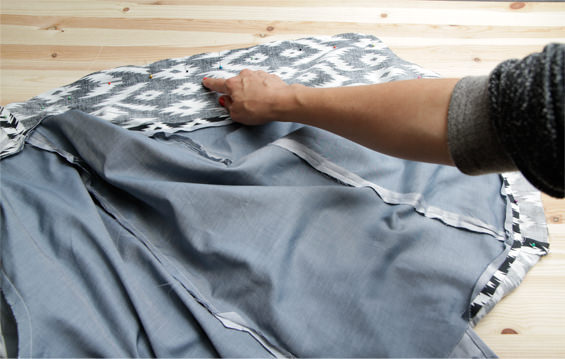
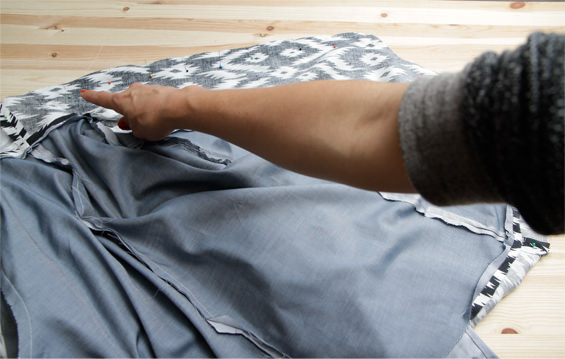
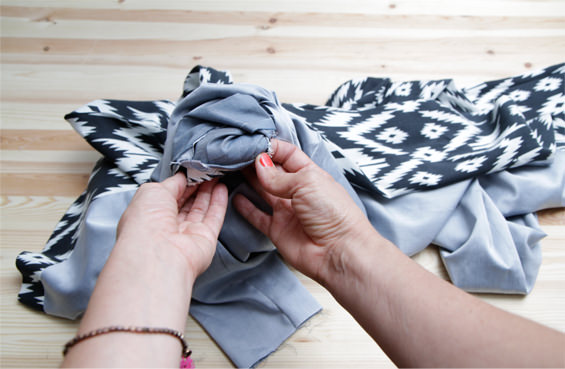
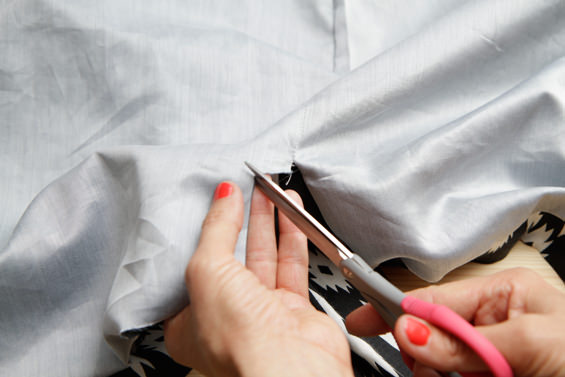
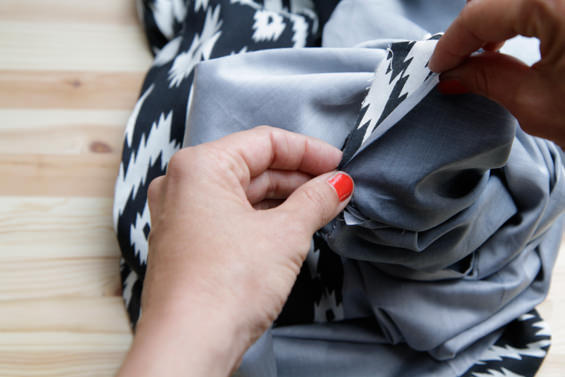
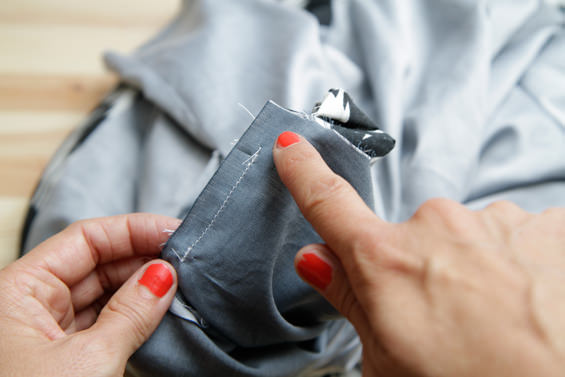
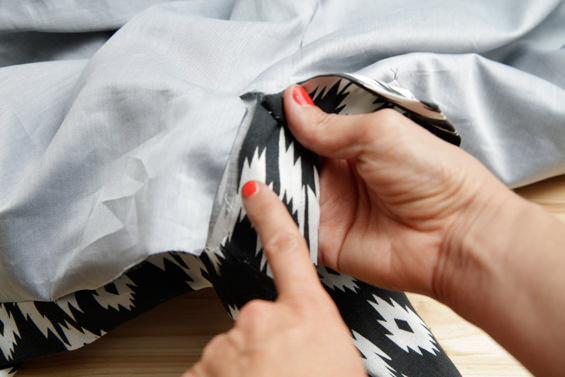
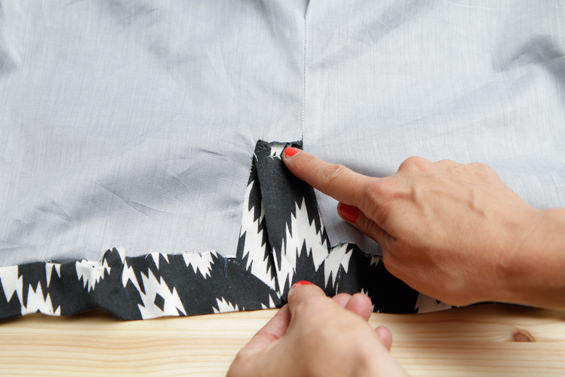
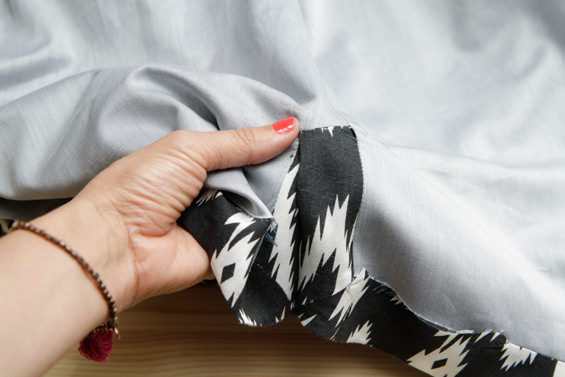
( 30 ) Turn over the right back lining at the back middle (vent) up to 2cm before the hem edge. Therefore grab again through the turning hole and turn out the back middle. Place vents right sides together and stitch until 2cm before the hems edge.
( 31 ) Also turn over the left vent edge (again grab through the turning hole) and stitch again up to 2cm before the hems edge.
( 32 ) Same for the diagonal vent: Turn over the linings diagonal vent with the outer jacket.
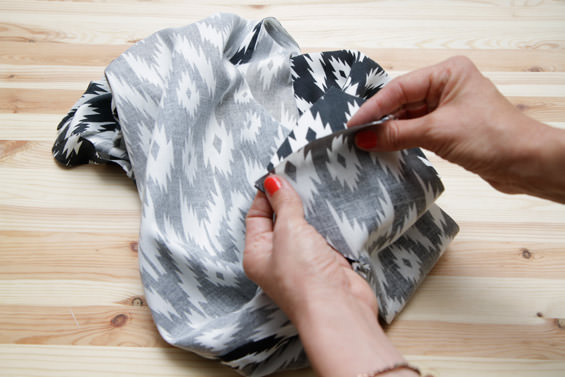
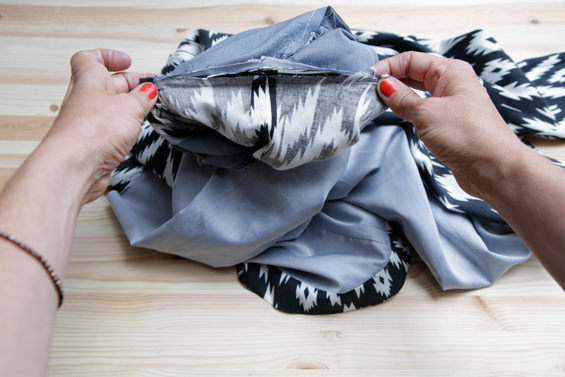
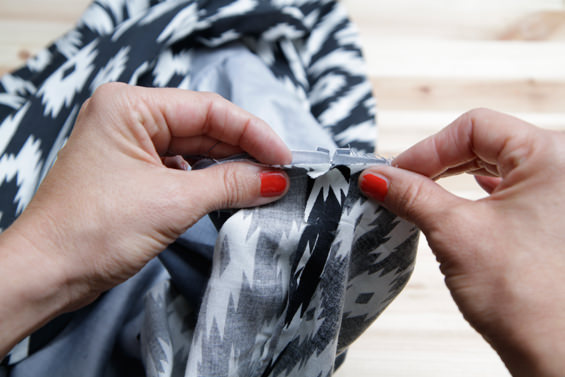
( 33 ) Again grab through the turning hole and stitch together (right sides together) the remaining hem. Press hem.
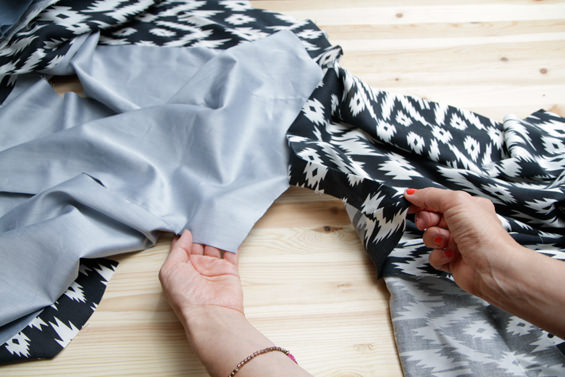
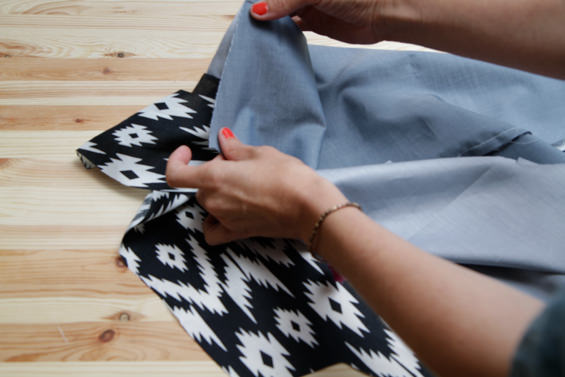
( 34 ) Turn sleeves through turning hole. Make sure the sleeve hems are placed right sides together. Stitch the lining sleeves to the outer sleeves adding.
( 35 ) Turn jacket right sides out and close the turning hole. Damp the front edge, neckline, sleeve hems and jacket hem. Do this from the inside to prevent any ironing marks on the outside.
Et voilà – Ready!




Hello, I just purchased and downloaded this pattern and can’t wait to make it. Such a cute design! I’m so glad you have a tutorial here on your blog. I would like to line my jacket, but don’t see anything in the pattern instructions about cutting and inserting lining. Do I cut the lining pieces same as jacket pieces?
Hallo Silke,
ich habe vor kurzem das Schnittmuster MONA gekauft und würde gerne die Variante mit Futter nähen. Leider finde ich nicht, wo ich den Futterschnitt herunterladen kann.
Viele Grüsse, Christina