With the the launch of the new schnittchen website I would like to introduce you my new special offer “Schnittchen of the Month“. Depending on season I will offer one schnittchen sewing pattern every month at a disount and provide you with a step-by-step photo tutorial, or show you possibilities to easily alterate the pattern.
Beginning with the Sewing Pattern Skirt Kate, you will get this pattern (printed and downloadable version) at a discount and I will yhow you in the following photo tutorial how to sew this nice and comfy skirt.
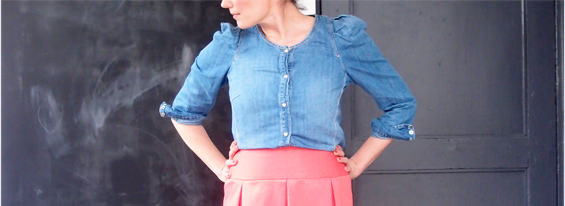
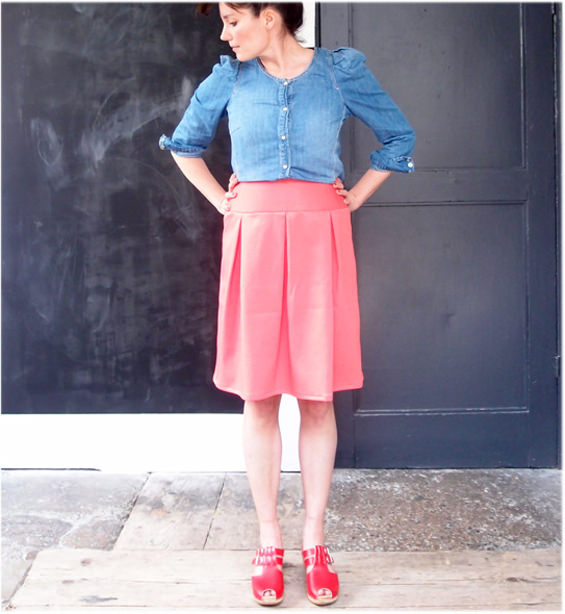
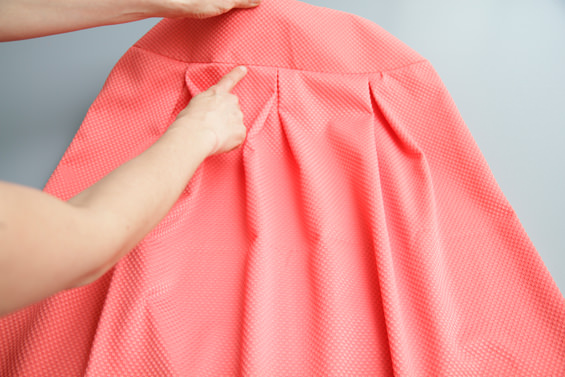
Kate is a slightly-over- knee skirt in A- shape with pleats in the front and in the back. You can either sew the skirt with one fabric or – as shown in the article photos – with different fabrics.
I’ll show you my version of Kate made with a beautiful coral-red elastic piqué I’ve bought some time ago at “stoffe meyer” in Berlin.
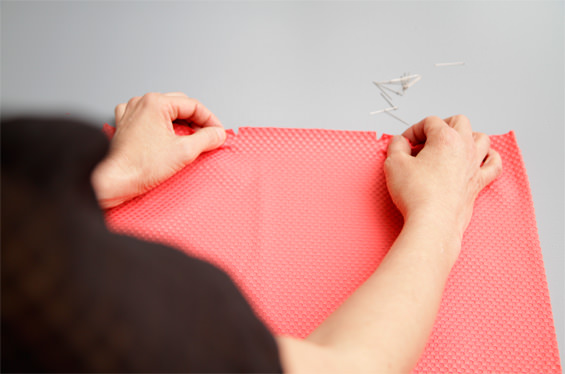
After you have cut or copied the pattern pieces out of the sewing pattern, you should cut the fabric according to the cutting plan you may find in your sewing instructions. After that you should copy all marks from the pattern pieces to the left side of the fabric using dressmaker’s carbon and a tracing wheel. Or you transfer the marks by cutting cautiously the seam allowance with some sharp scissors. So did I…
And then you already can start sewing:
Tutorial Sewing Pattern Skirt Kate:
( 1 ) I will sew the skirt with oe fabric. If you would like to sew it with different fabrics first do the following. Cut the front and the back skirt pattern along the cutting lines. Mark these pieces with A / B / C / D. When cutting the fabric please add a sewing allowance of 1cm to the bottom of pattern piece A, add 1cm to the top and the bottom of pattern pieces B and C, and finally add 1cm to the top of pattern piece D.
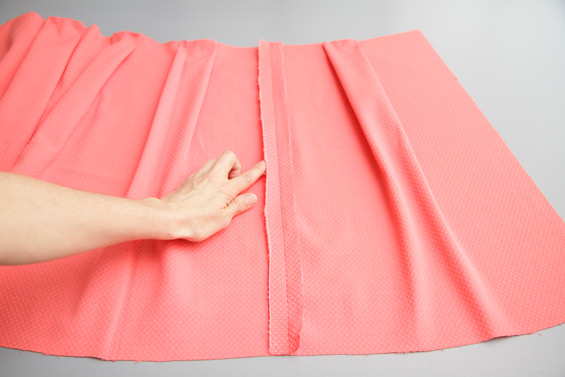
( 2 ) Neaten the long edges of the cut fabric pieces by using a zigzag-stitch. Then sew the pieces right sides together using a sewing allowance of 1cm. Press seams open.
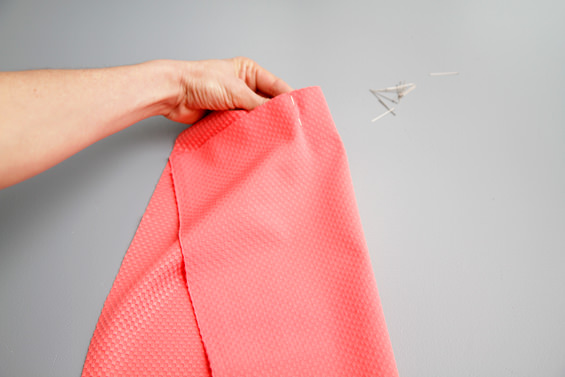
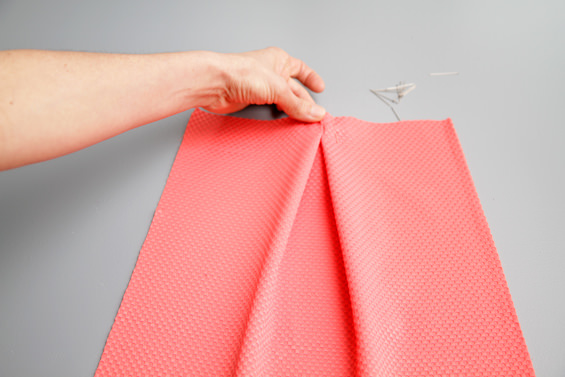
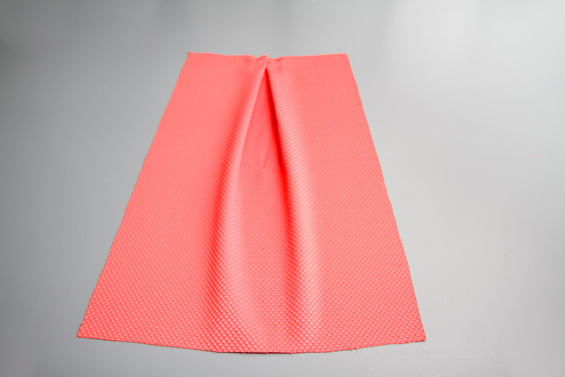
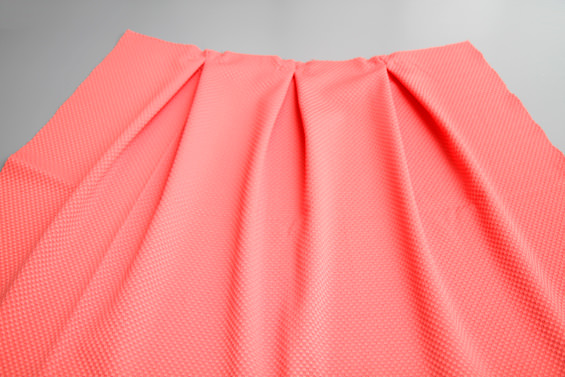
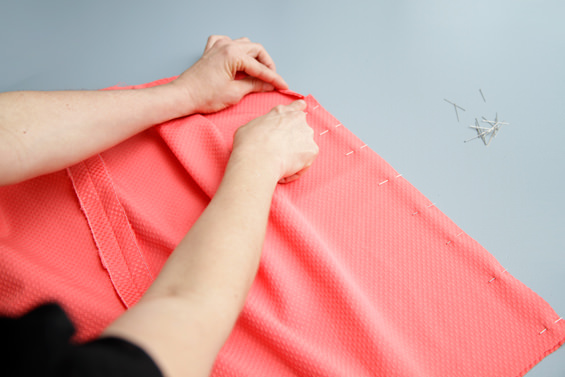
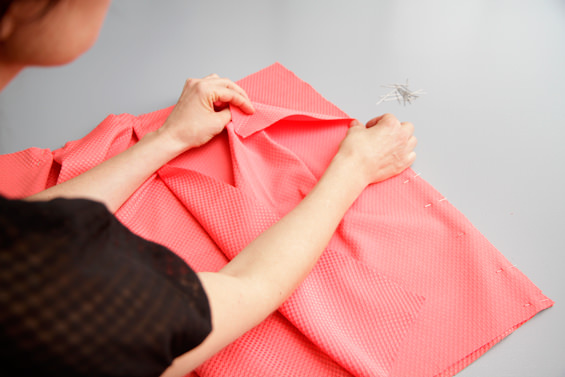
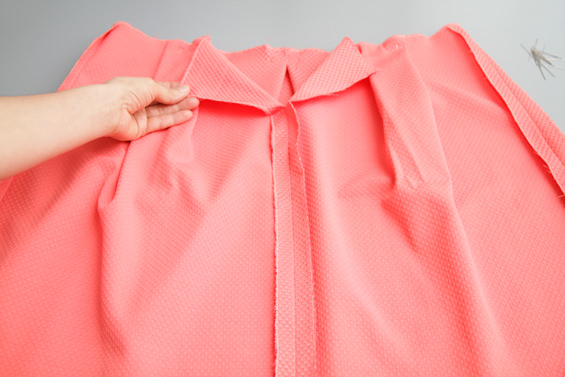
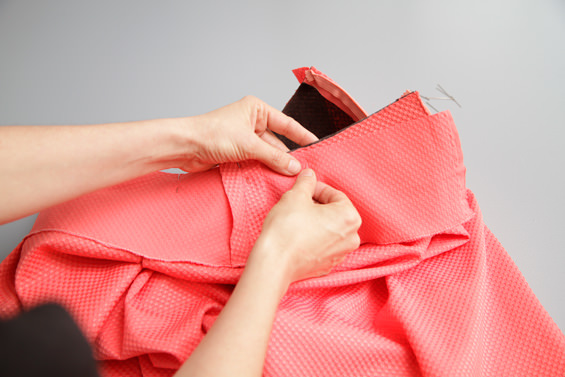
( 3 ) Add the pleats in the skirt pieces according to the marks. Pin. It might beadvisable to baste the pleats. This is what you have to do:
( 4 ) Neaten the sides of the front and the back skirts using a zigzag-stitch.
( 5 ) Place the front and back skirts right sides together and pin. Sew using a sewing allowance of 2cm. Press seams open.
( 6 ) Neaten the back middle using a zigzag-stitch and sew using a sewing allowance of 2cm, starting from the “end of zipper”-mark. Press seams open.
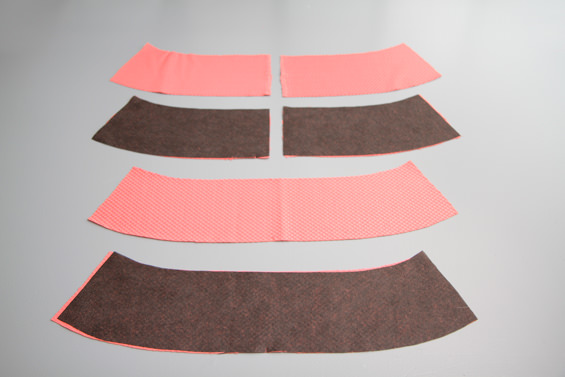
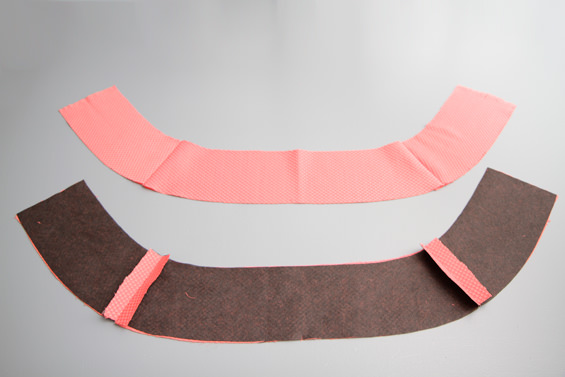
( 7 ) Fuse the waistband interfacings to the facing fabric according to the instructions given by the manufacturer. Neaten the front and back waistband pieces using a zigzag-stitch and pin right sides together. Sew along the sides using a sewing allowance of 2cm. Press seams open. You now have two waistbands – one outer and one inner waistband.
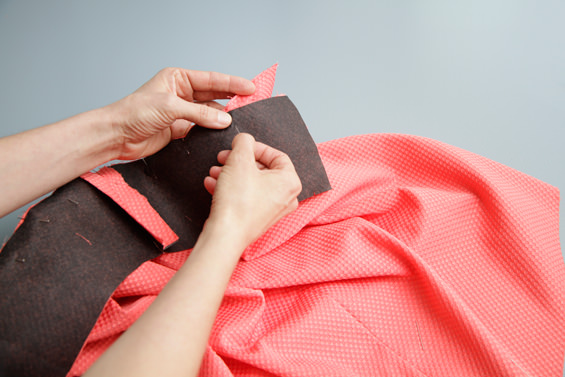
( 8 ) Neaten the waist of the skirt using a zigzag-stitch. Pin the outer waistband to the skirt right sides facing each other and sew using a sewing allowance of
1cm. When doing the pleats are sewn in and fixed. Press seams open.
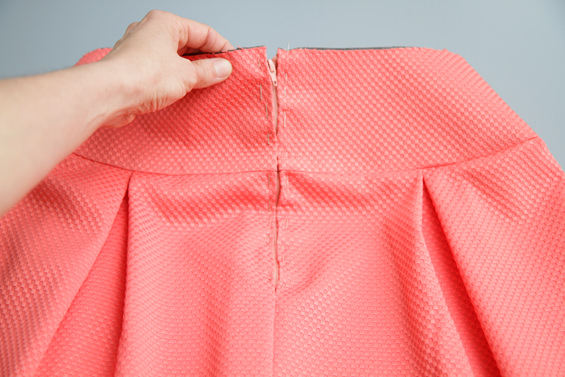
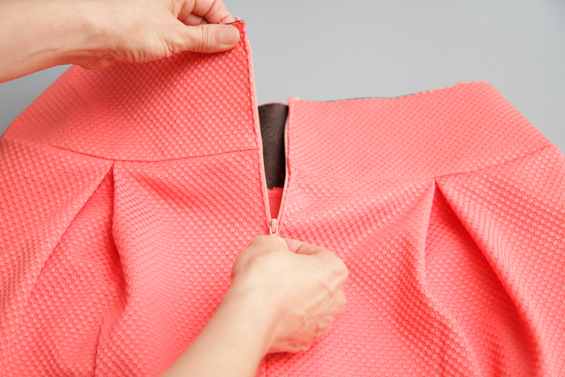
( 9 ) Pin the zipper to the back middle, make sure that the teeth start 1cm below the upper edge of the outer waistband. The teeth are covered with fabric. Use a zipper foot for sewing. Open the zipper and start sewing at the upper right edge. Stop about 5cm before the zipper ends. Leave the needle down and close the zipper. Continue sewing until reaching the bottom stop, stitch across, then sew the other side of the zipper. Again stop after sewing about 5cm, open the zipper up and finish stitching.
( 10 ) Pin the inner waistband to the outer waistband right sides together and sew using a sewing allowance of 1cm. Clip the sewing allowances where needed.
( 11 ) Turn the inner waistband to the inside, the sewing allowance of the bottom.
( 12 ) Sew carefully into the seamline and attach the inner waistband to the outer waistband.
( 13 ) For the zipper area fold the sewing allowance of the inner waistband in and handstitch the waistband down.
( 14 ) Neaten the skirt seam using a zigzag-stitch. Press the seam according to the seam mark and topstitch about 8 cm from the bottom. As I had only little fabric I had to fix the hem at 1cm. Unfortunately…
