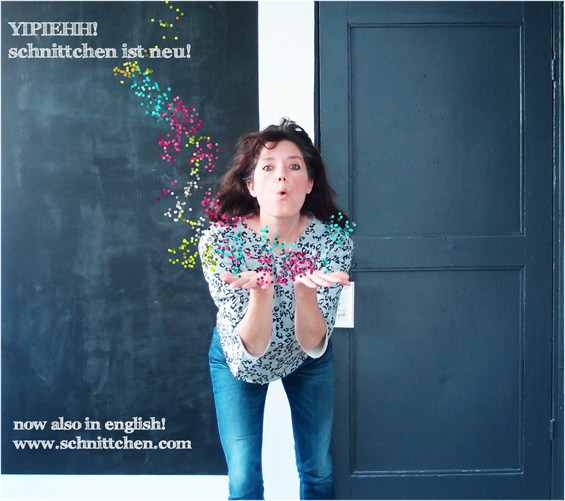
Finally! The new schnittchen webpage is online! After countless “oh-no’s!” and some sleepless nights I made it and finally all you English-speaking seamstresses can order my sewing patterns comfortably also via my site.
You can choose between both – the printed patterns and the downloadable patterns. The latter will be forwarded to you via mail after your order is completed or you can download it in your account. You can also choose the printed pattern (in German and English) which will be send to you via DHL. As the printed sewing instructions are in German you can download the sewing instructions in English. Therefore you will receive a download-link via mail after your order is completed.
Also new at schnittchen is that the schnittchen club has moved to Pinterest. There you have the opportunity to apply for access and can either upload from your blog or computer your sewn creations. Since I ‘m always very curious about how you get along with the patterns and what your creations look like you will get a 20 % discount on your next order for each creation uploaded at schnittchen club. Just take a look here to get more information.
Moreover I would like to introduce you my new special offer “Schnittchen of the Month“. Depending on season I will offer every month one sewing pattern at a disount and provide you with a step-by-step photo tutorial, or show you possibilities how to easily alterate the pattern. Sewing Pattern Skirt Kate, breaks the first ground…
To celebrate, I have of course prepared one or another treat for you. Later in this post I’ll show you in a detailed step-by-step-phototutorial how to sew the newest pattern Dress and Blouse Franzi and for those of you who would like to know it even better thanks to makerist I can raffle off a 2 hour video course showing how to sew the dress (in German…).
Also you can win 1 huge package of schnittchen sewing patterns including all available patterns!
Just leave a comment later on until June 6th and … fingers crossed…

Not enough goodies – I also prepared a free download for you! Anyone interested in some nice babydoll panties (maybe together with Blouse Franzi as a sweet pyjama for hot summernights) just klick here to download your free pattern Baby Doll Panties Pattern here (sizes 34-46 ): sewing pattern franzi babydoll panties.
Before getting started with the tutorial again a warm welcome to all you seamstresses whereever you are! Have fun sewing!
Tutorial Sewing Pattern Blouse Franzi:
( 1 ) Start by fusing the fusible interfacing to the top and under collars and the front facings. Make sure to follow the manufacturer’s instuctions.
( 2 ) When making the dress or shirt with ruches at the collar and the cap sleeves neaten the outer edges of the collar ruches and sleeves using a rolled hem or a very narrow zigzag-stitch of your sewing machine.

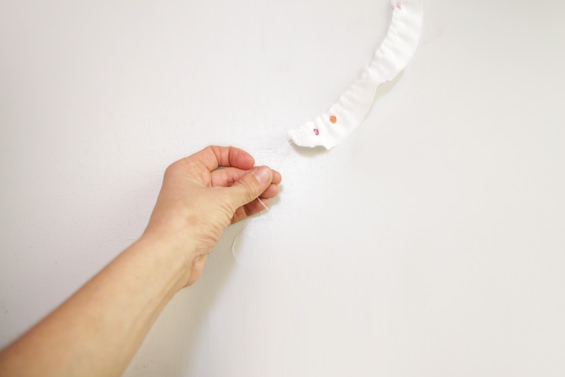
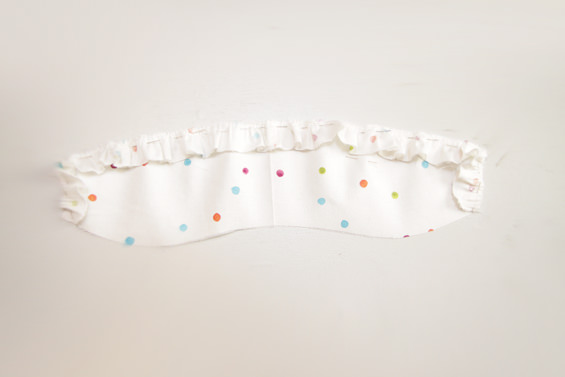
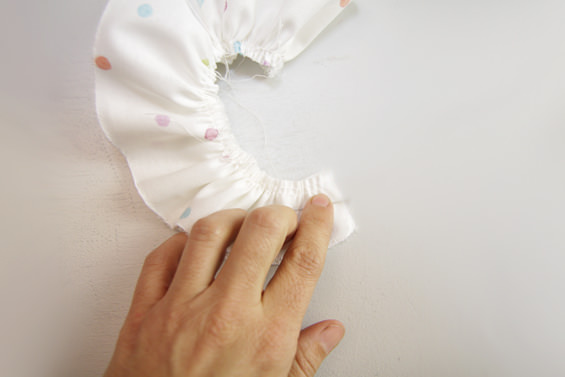
( 3 ) To ruffle the collar ruches set your machine to a really wide straight stitch width. Then sew two lines about 0,5cm away from each other. Do not backstitch and leave a couple of cm of thread free on both sides. By pulling the bobbin thread the front and back pieces are gathered to fit the width of the yoke.
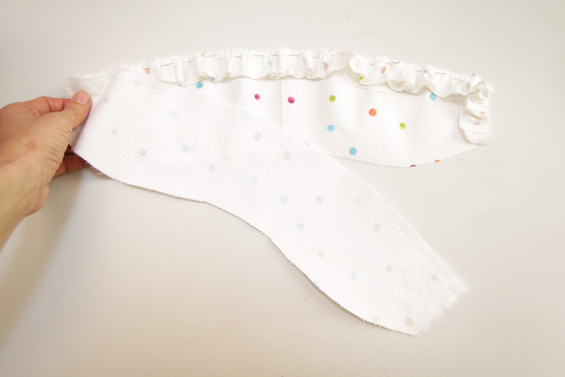
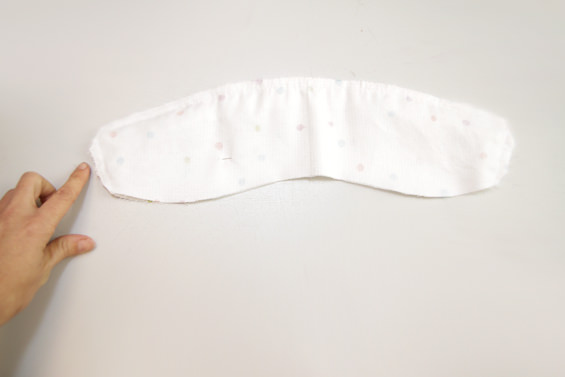
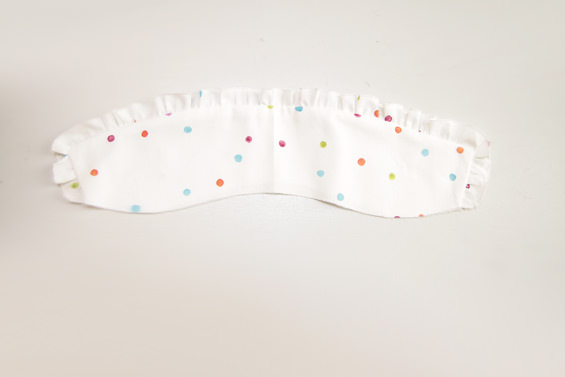
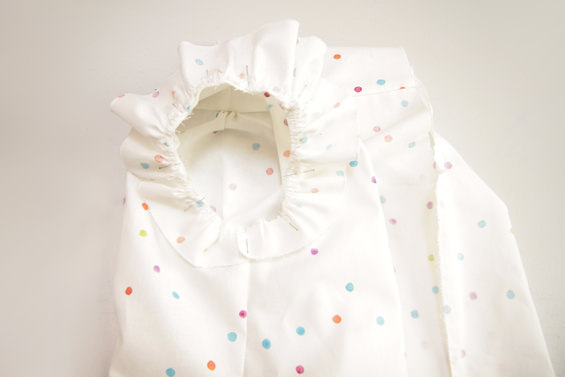
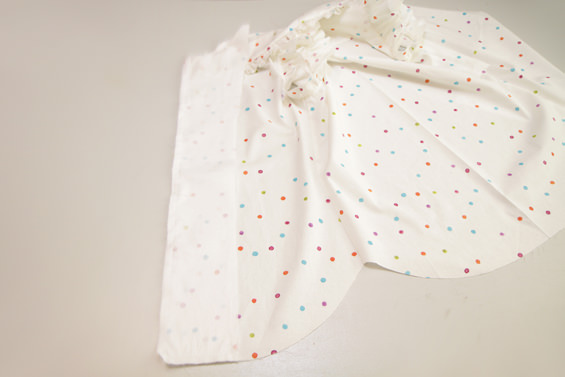
( 4 ) Pin the top and under collar right sides together. If applicable place the collar ruches in between top and under collar (make sure to consider marks). Close the sides and the upper edge of the collar. The neckline is still open. Clip the curves carefully. Turn the collar over and press from the right. Please Note: The ruches for the collar can also be left out.
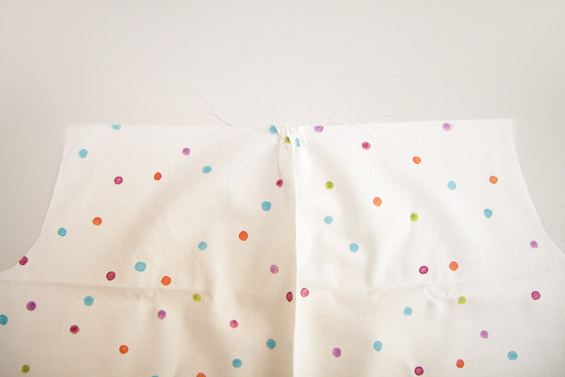
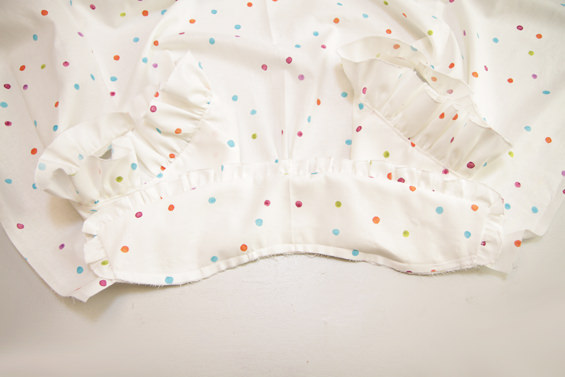
( 5 ) Gather the front and back pieces according to the marks. For this set your machine to a really wide straight stitch width. Then sew two lines about 0,5cm away from each other. Do not backstitch and leave a couple of cm of thread free on both sides. By pulling the bobbin thread the front and back pieces are gathered to fit the width of the yoke.
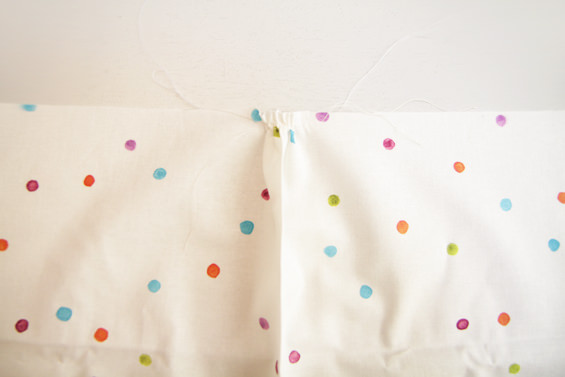

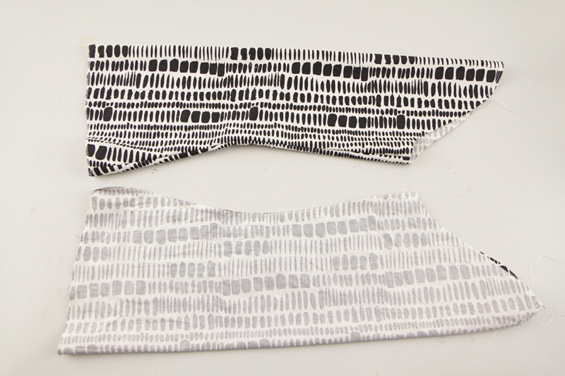
( 6 ) Place the back piece in between two yokes right sides together. Sew, neaten sewing allowance using a zigzag-stitch. Fold the yokes up and press from – the right.

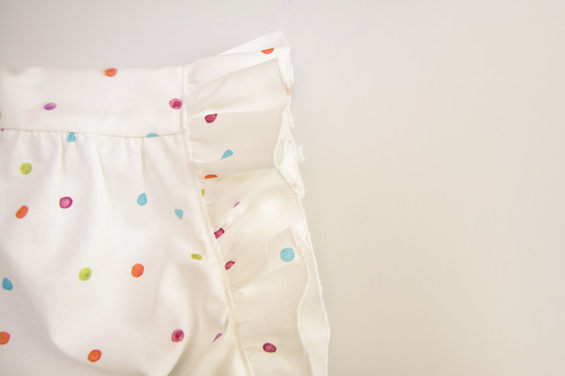
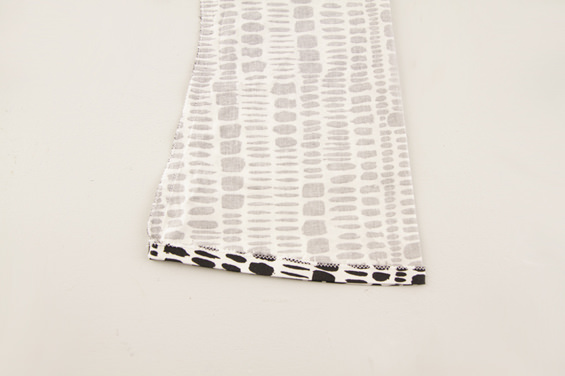
( 7 ) Pin the front Piece to the outer yoke rights sides togehter. Sew, neaten sewing allowance using a zigzag-stitch. Fold the yoke up and press sewing allowance up.
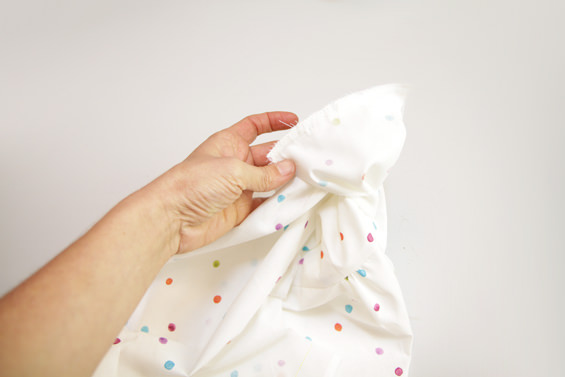
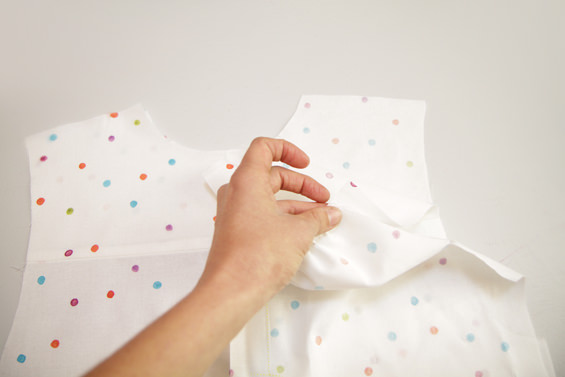
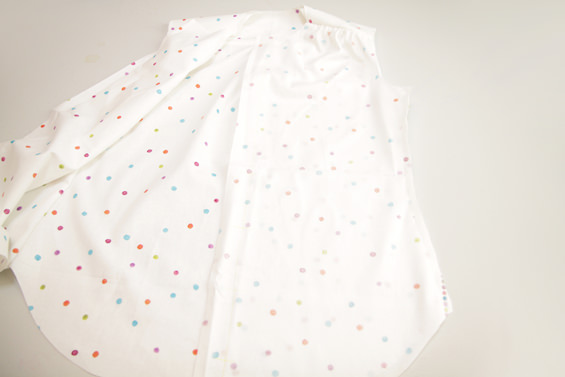
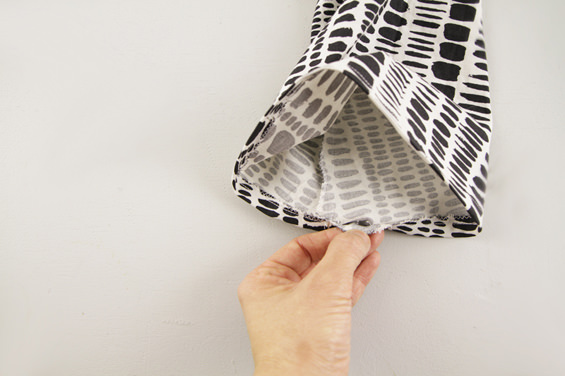
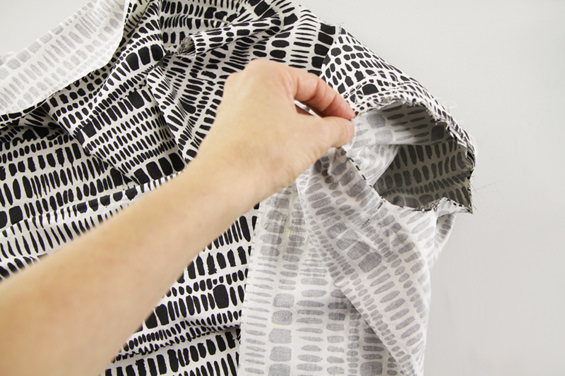
( 8 ) Stitch the inner yoke to the front piece using the same stitchline. For this pull the pieces through the armhole and sew the inner yoke to the front right sides together.

( 11 ) Pin the sleeve to the sleeve cap right sides together. Please consider the marks. Sew, neaten the sewing allowance using a zigzag-stitch and press towards the body.
( 12 ) Pin the front facings to the front pieces right sides together. Turn over hem at the front facings, the front edge and the neckline all the way to the yoke seam. Place the collar in between the front pieces and front facings.
( 13 ) Sew the under collar to the neckline.
( 14 ) Fold in the sewing allowance of the top collar and sew the collar to the neckline by hand.
( 15 ) Fold in the hem twice 0,5cm and press. Topstich.
( 16 ) Make the buttonholes and place them on the right front piece. Sew the buttons to the left front piece.
Tutorial long sleeves:

( 1 ) Gather the sleeves to fit the sleeves cap as described in step (5). Consider the marks.
( 2 ) Close the sleeve seam and neaten sewing allowance using a zigzag-stitch. Press towards the back.
( 3 ) Neaten the hem using a zigzag-stitch, fold up 1cm and press. Topstitch at about 0,8cm from the fold, leave an opening of about 3cm to insert the elastic.
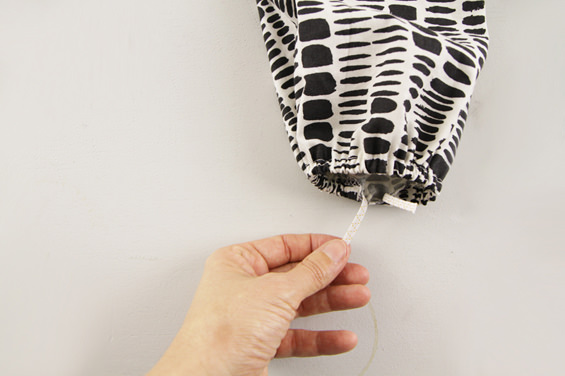
( 4 ) Cut the elastic and insert into the tunnel using a safety pin. Close the elastic and the opening in the sleeves.
( 5 ) Pin the sleeve to the sleeve cap right sides together. Please consider the marks. Sew, neaten the sewing allowance using a zigzag-stitch and press towards the body.


I’m glad that you made it in English too (quite more confortable for me than German..) !